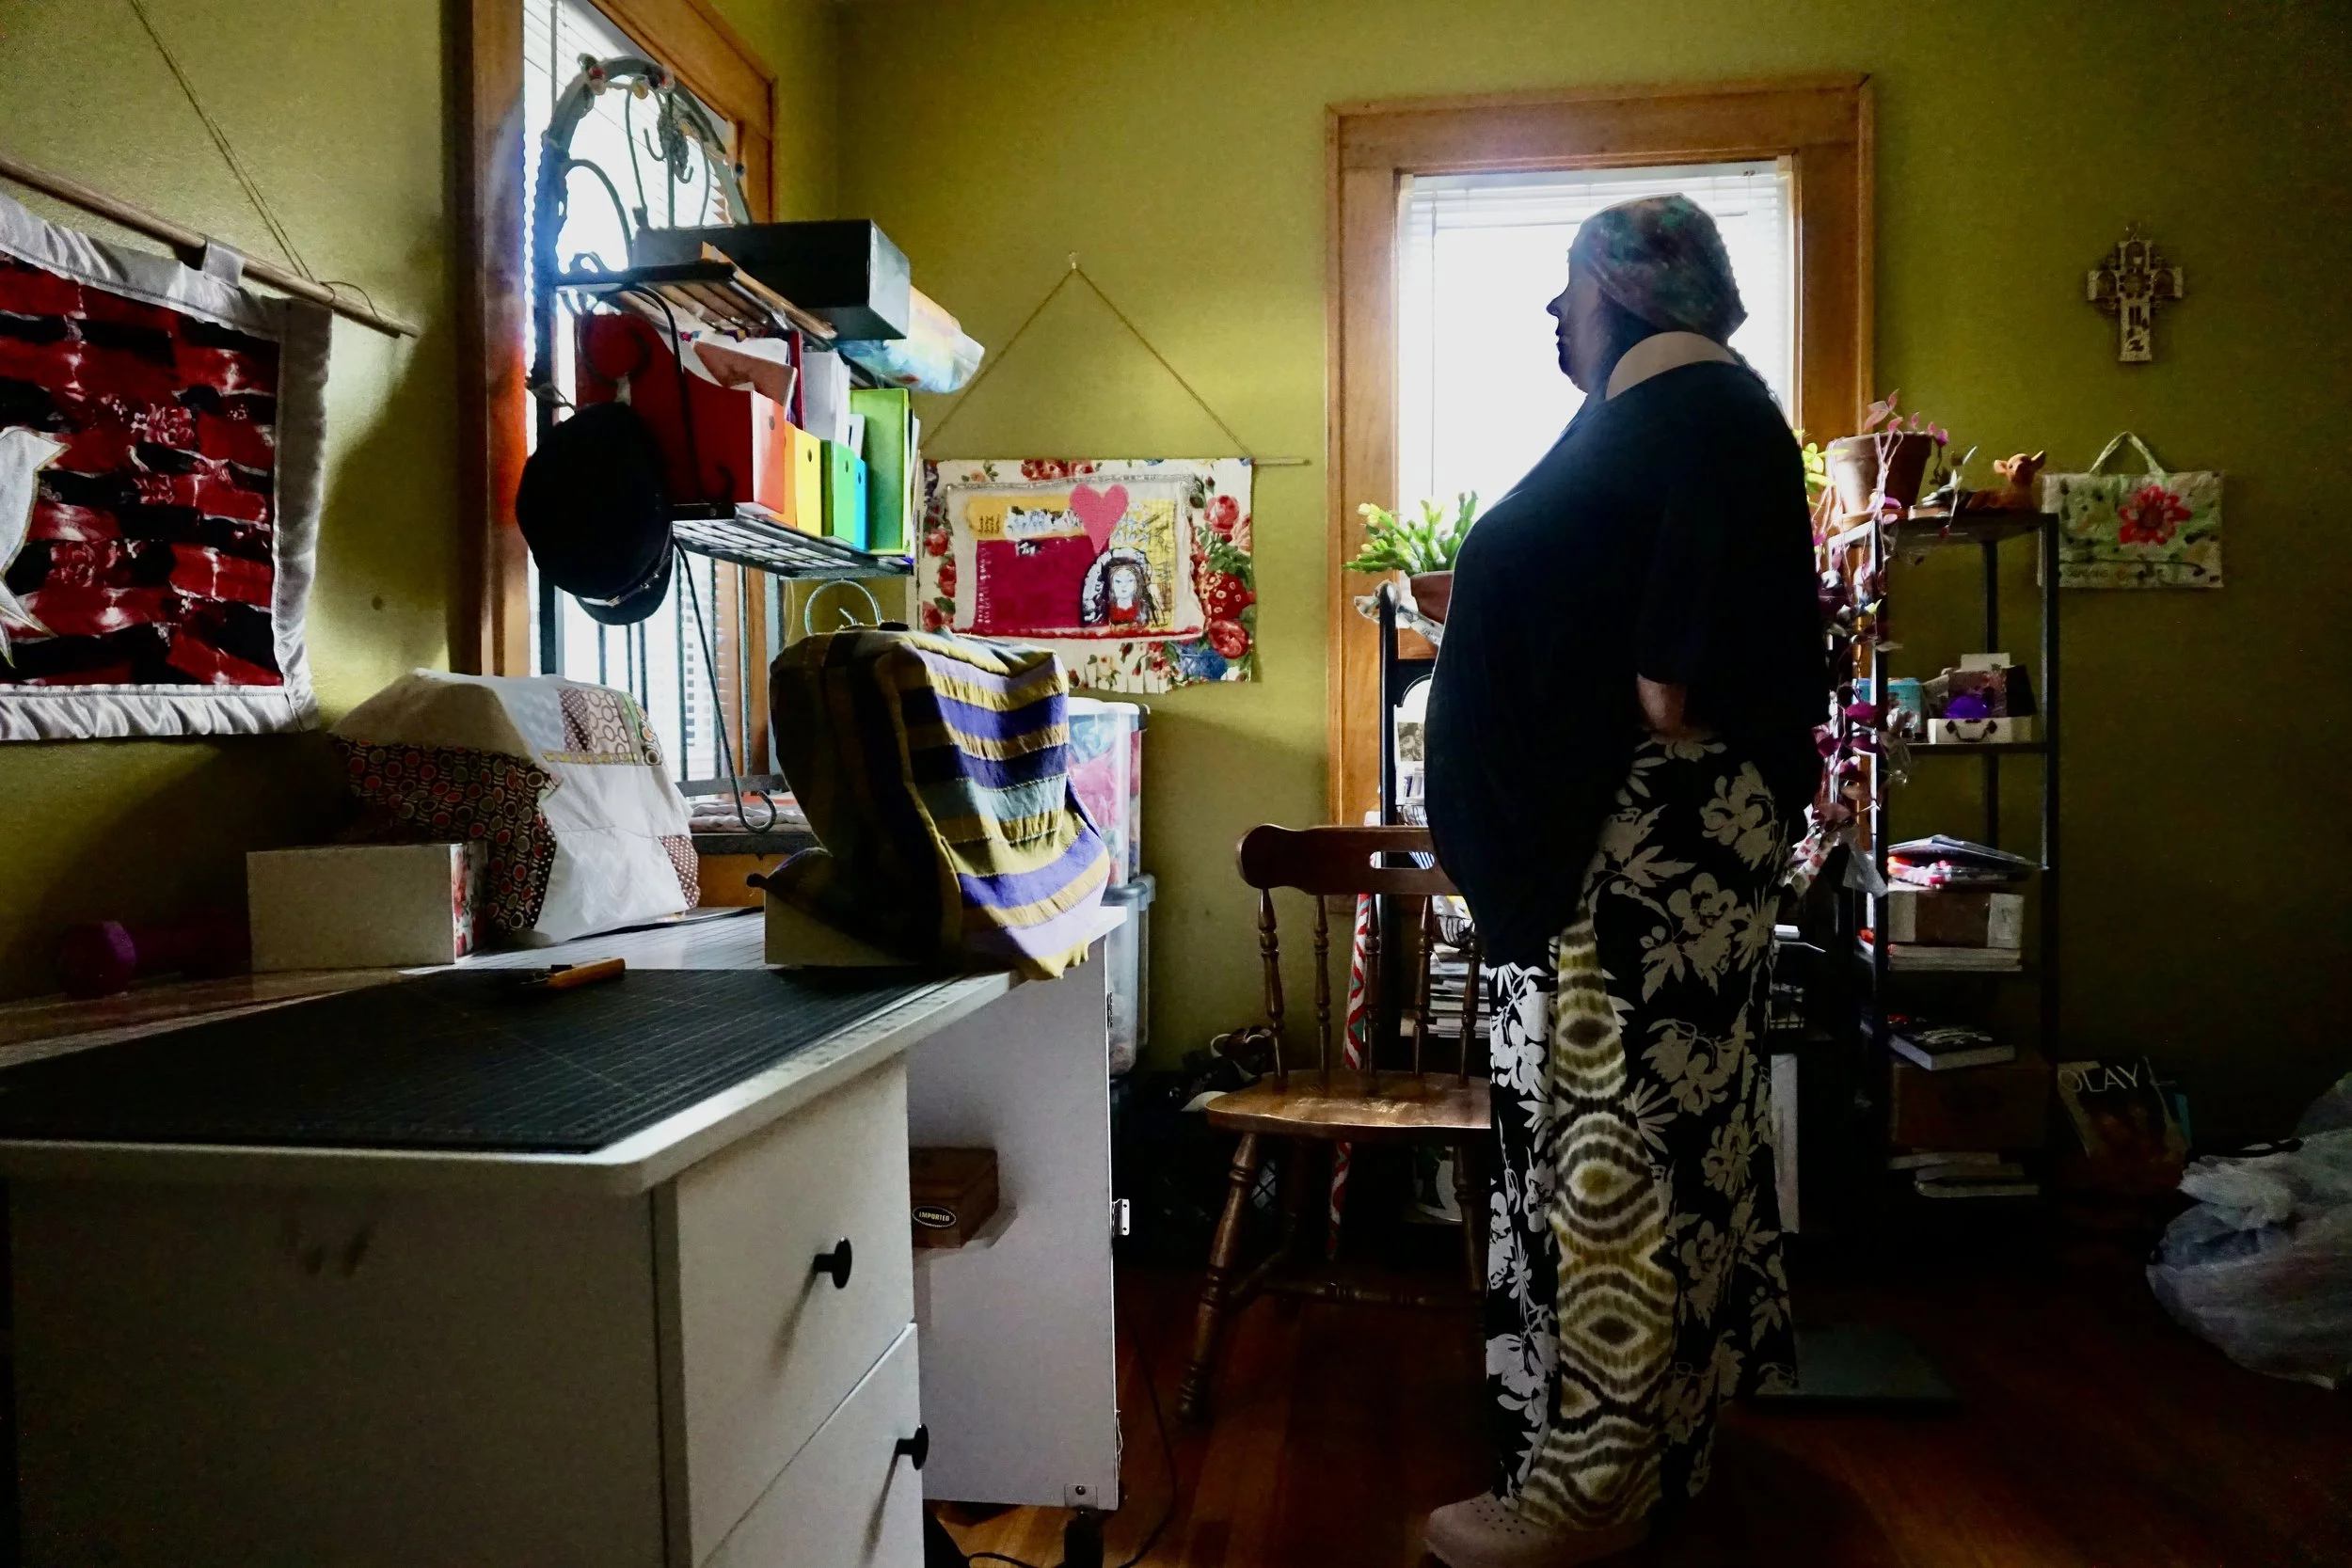
I’m getting back in that sewing room, and loving every moment of it! I had a series of setbacks. But when you love doing something, you will always come back to doing it. I say the same thing about people! The people who belong in your life will always come back around.

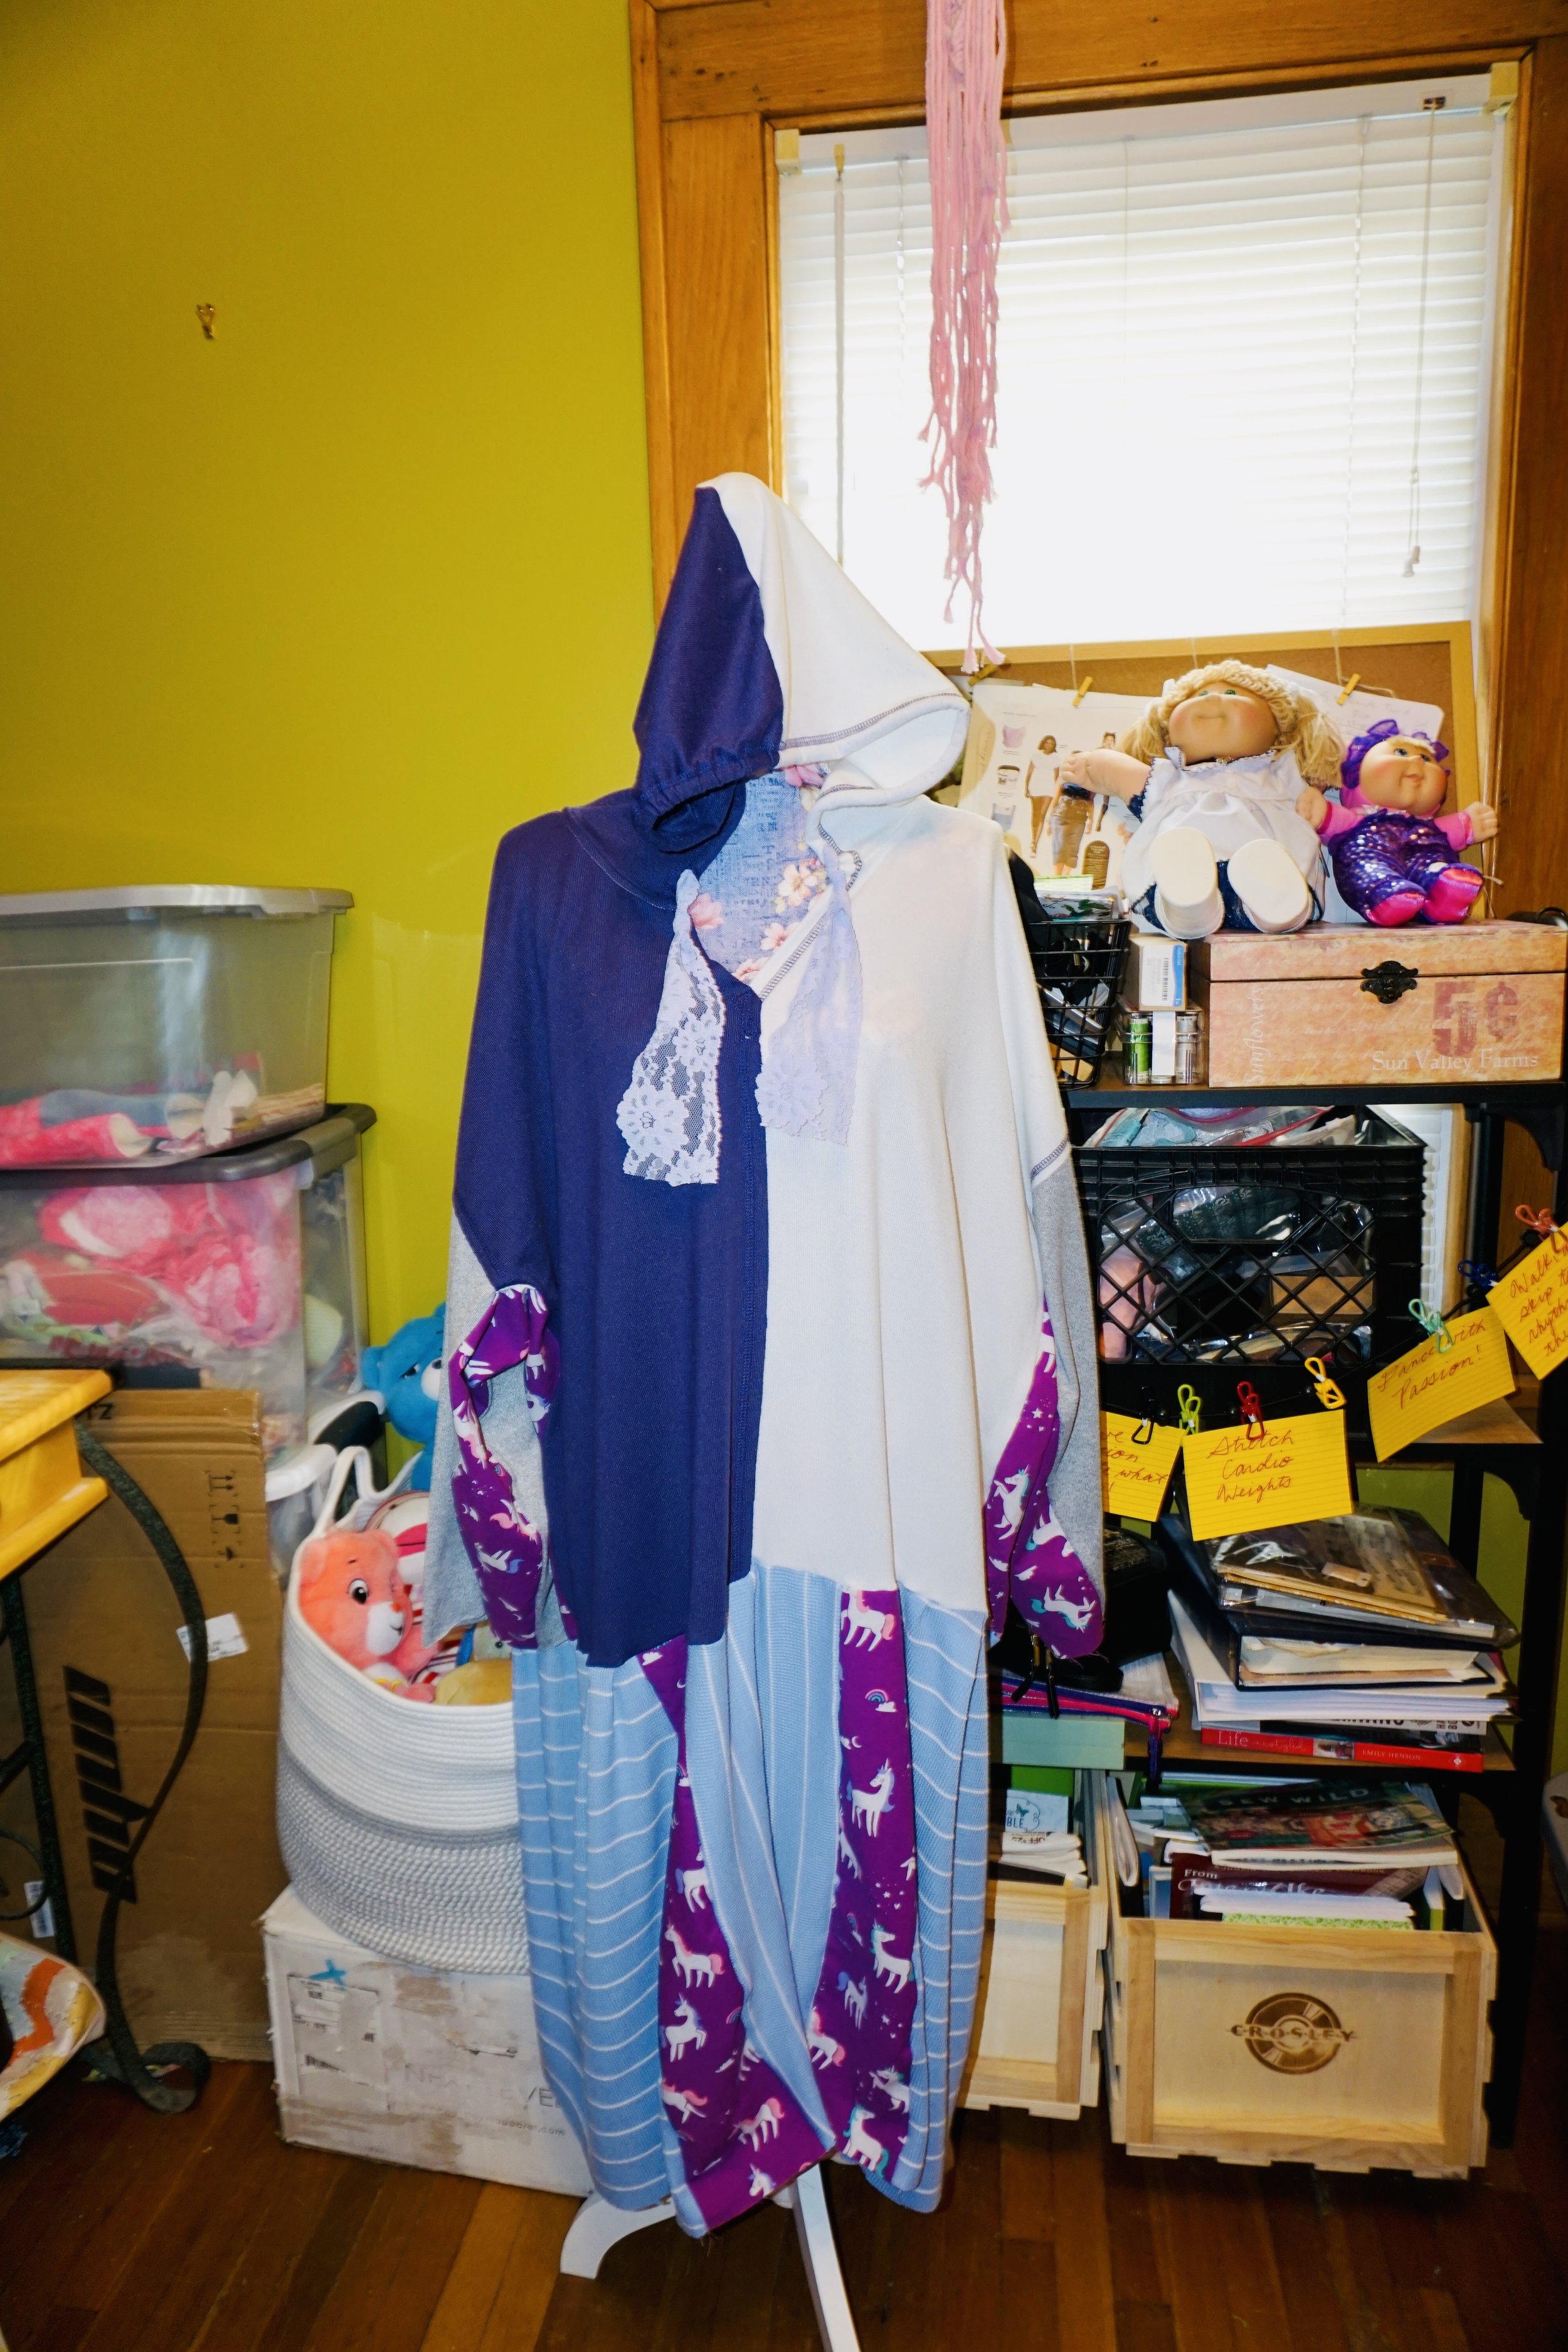
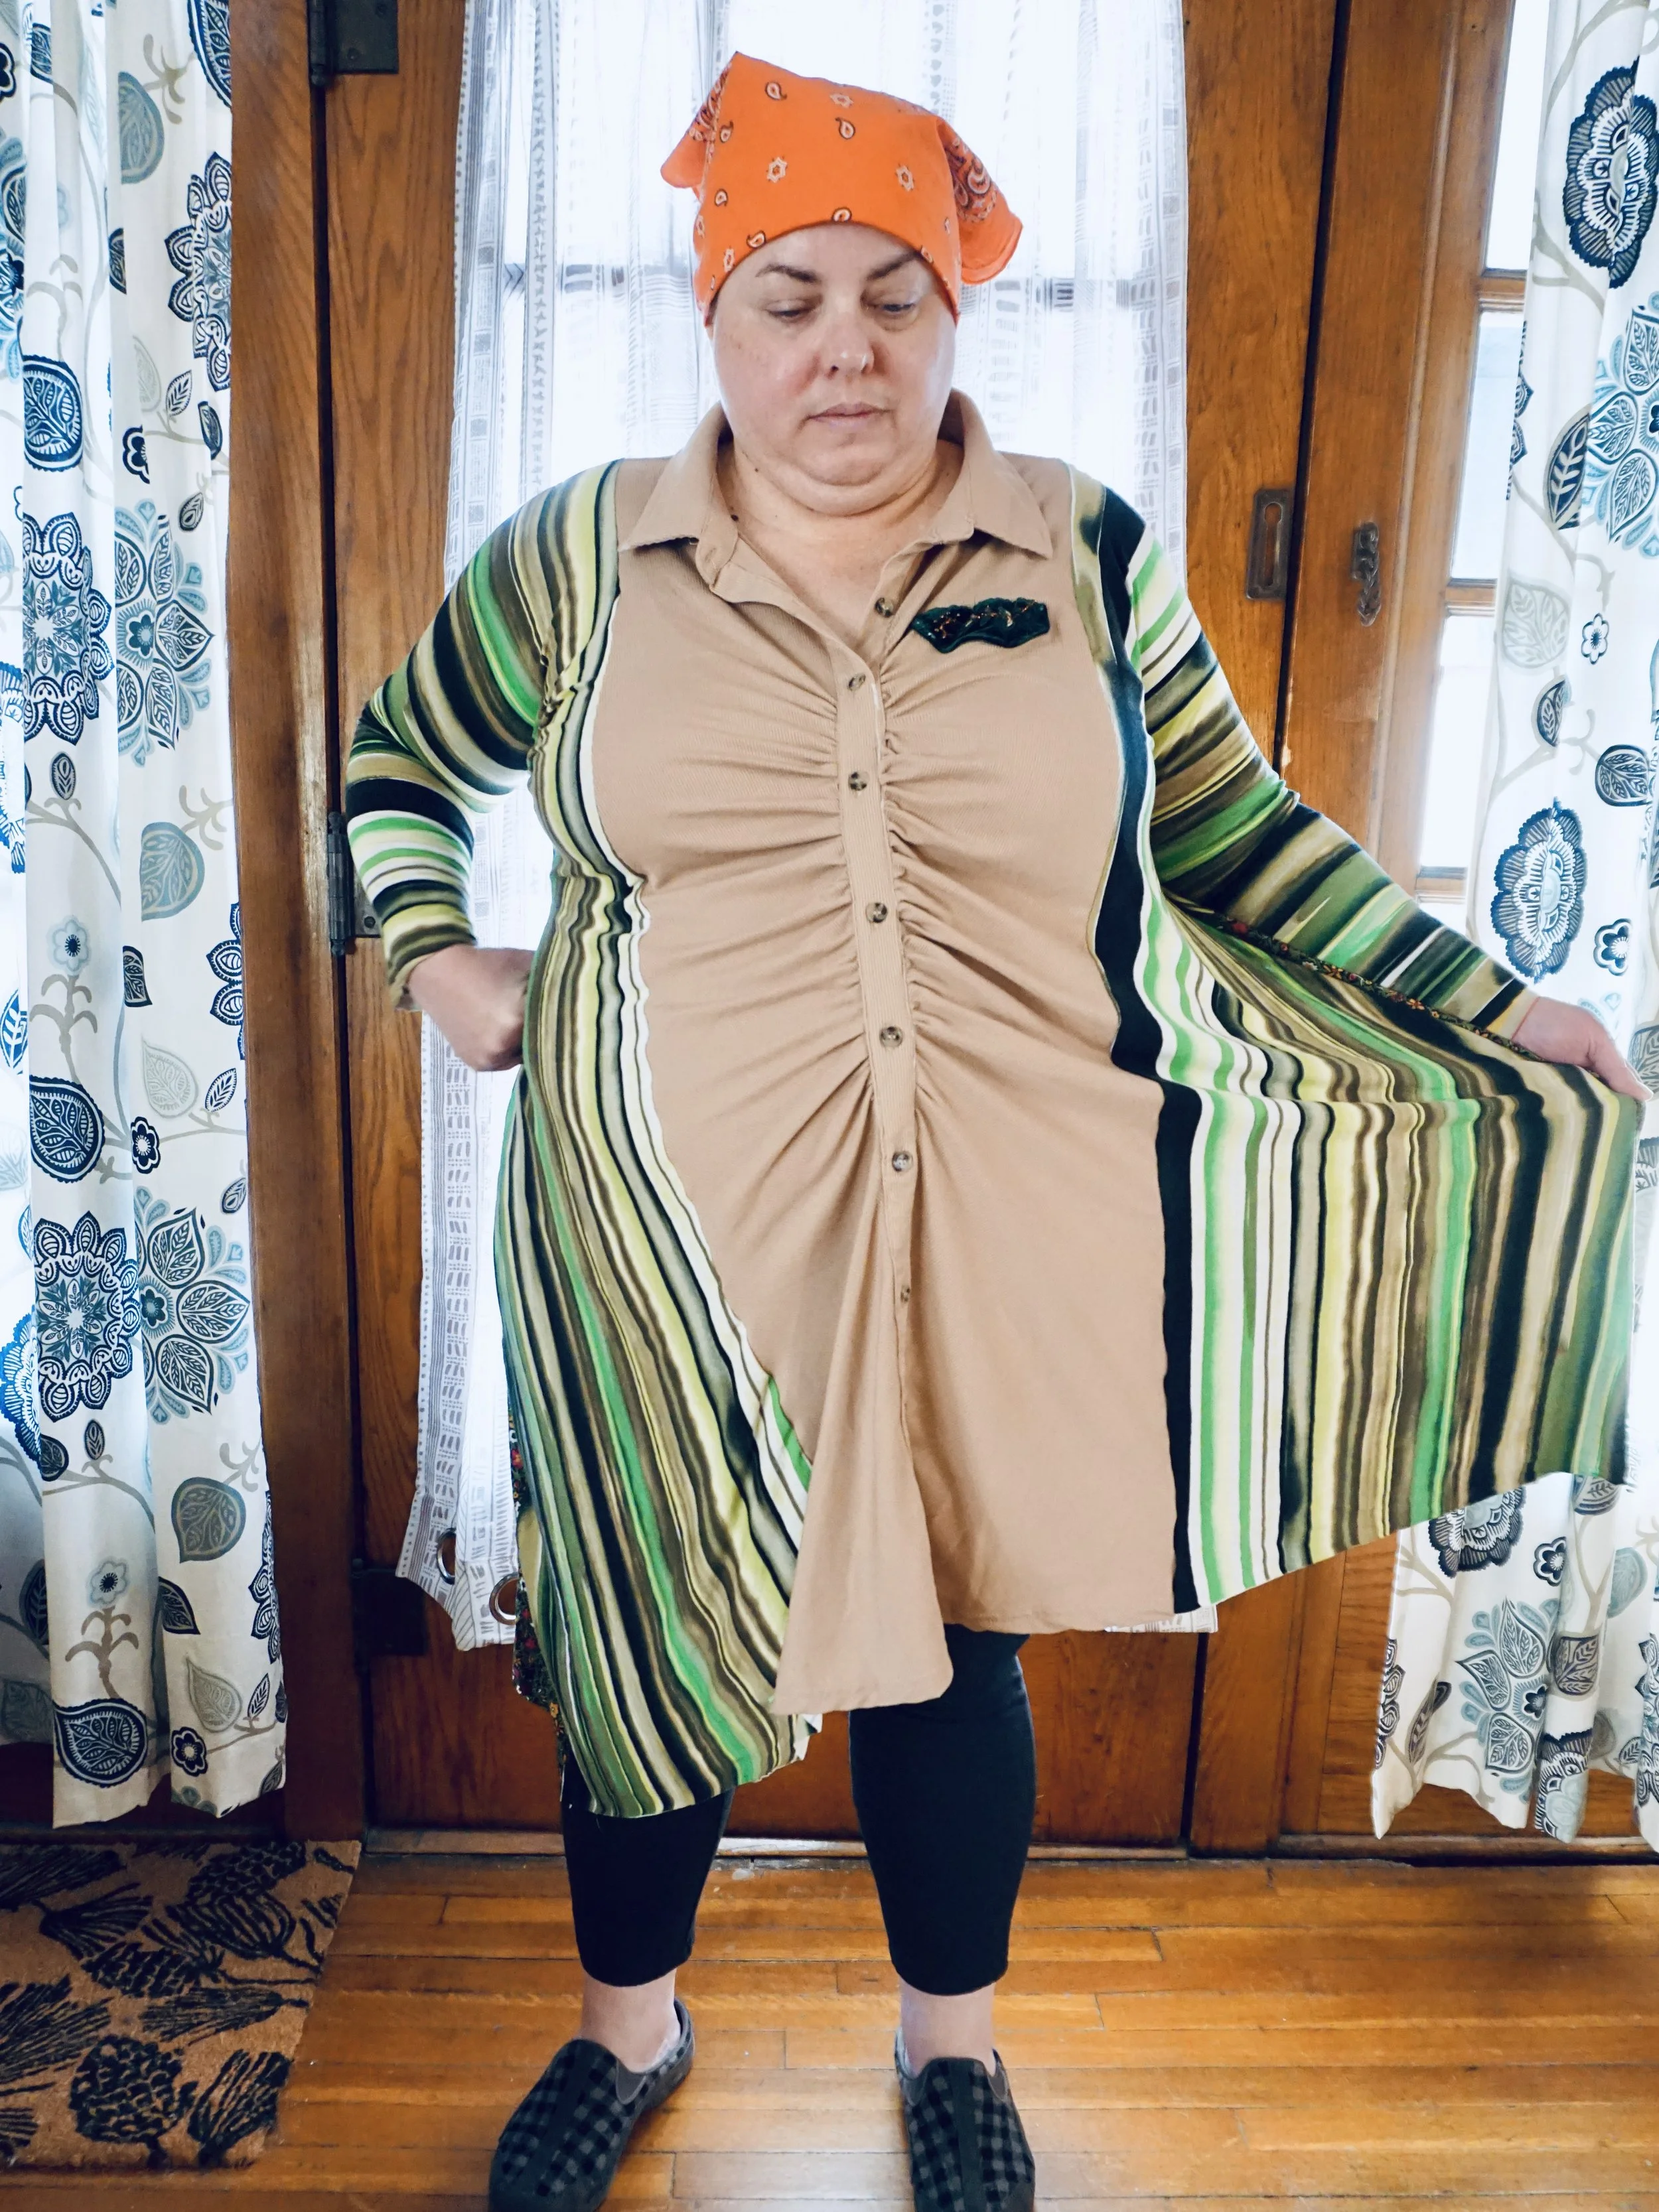
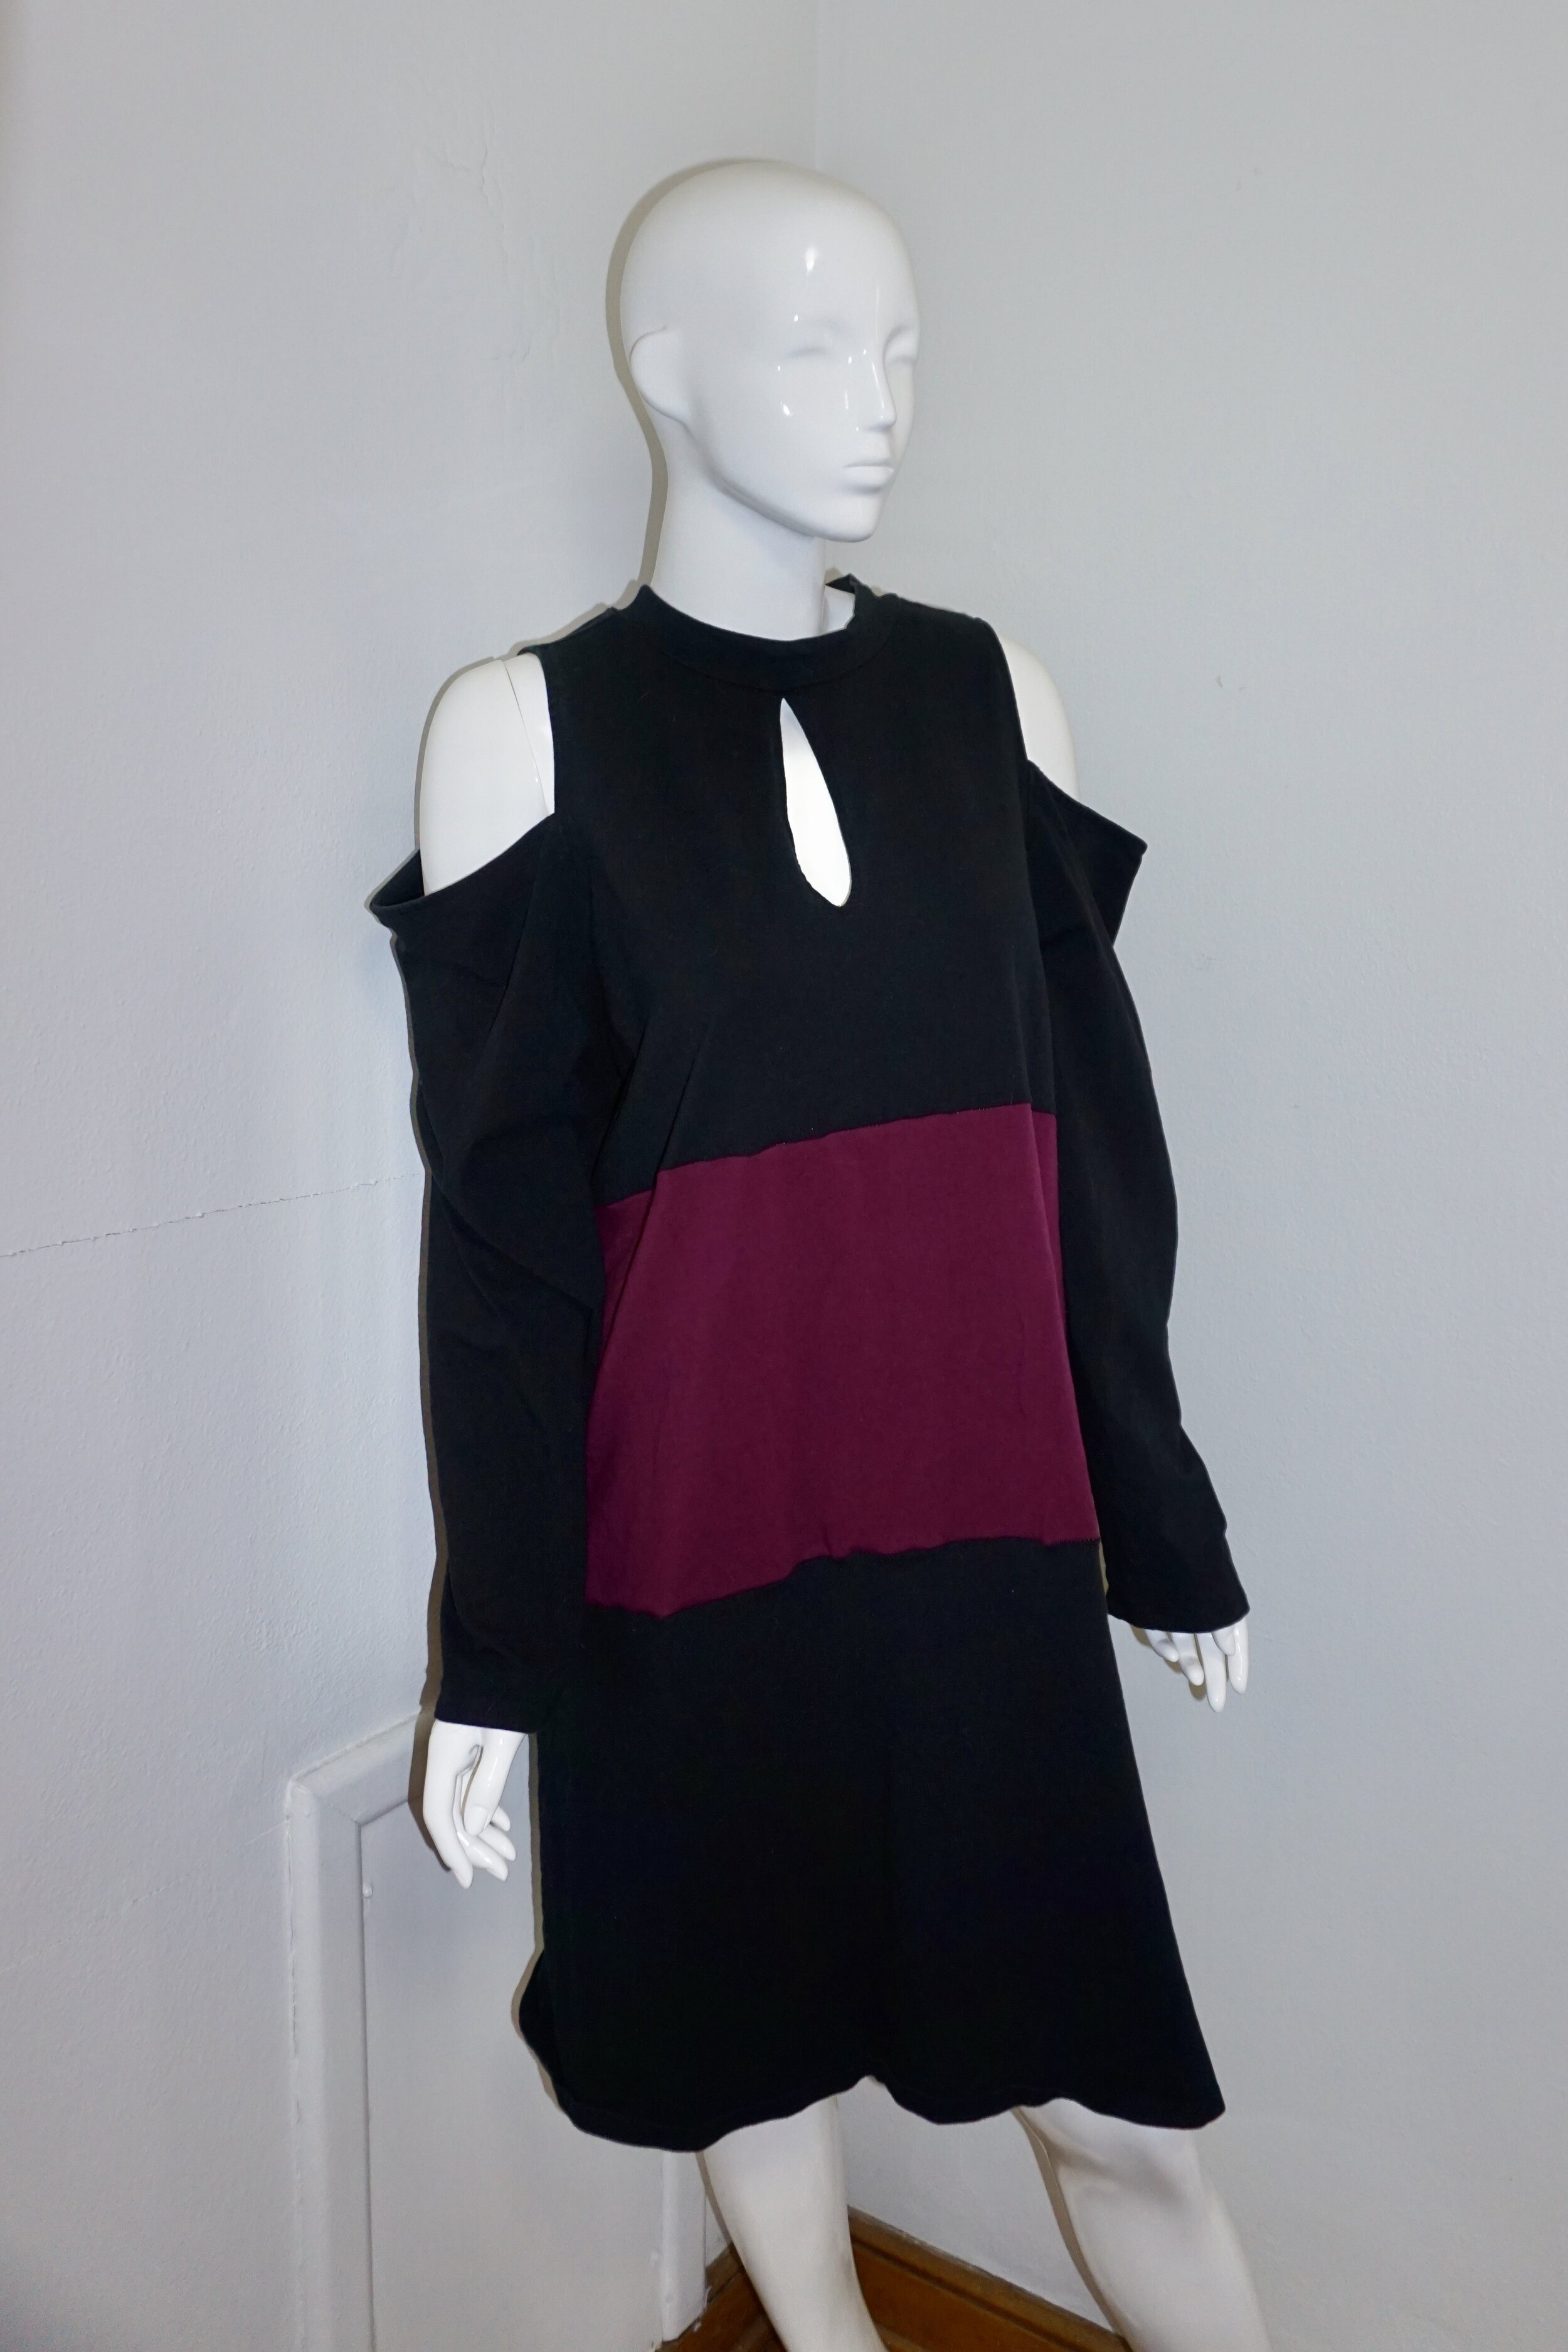
Onto the project for today! Do you have a button down dress in your closet that either doesn’t fit, or that you just don’t love? I have just such a dress. I bought it and then never felt like wearing it, so it sat in the back of my closet for a couple of years. I’ve decided to turn it into a jacket, perfect for fall!
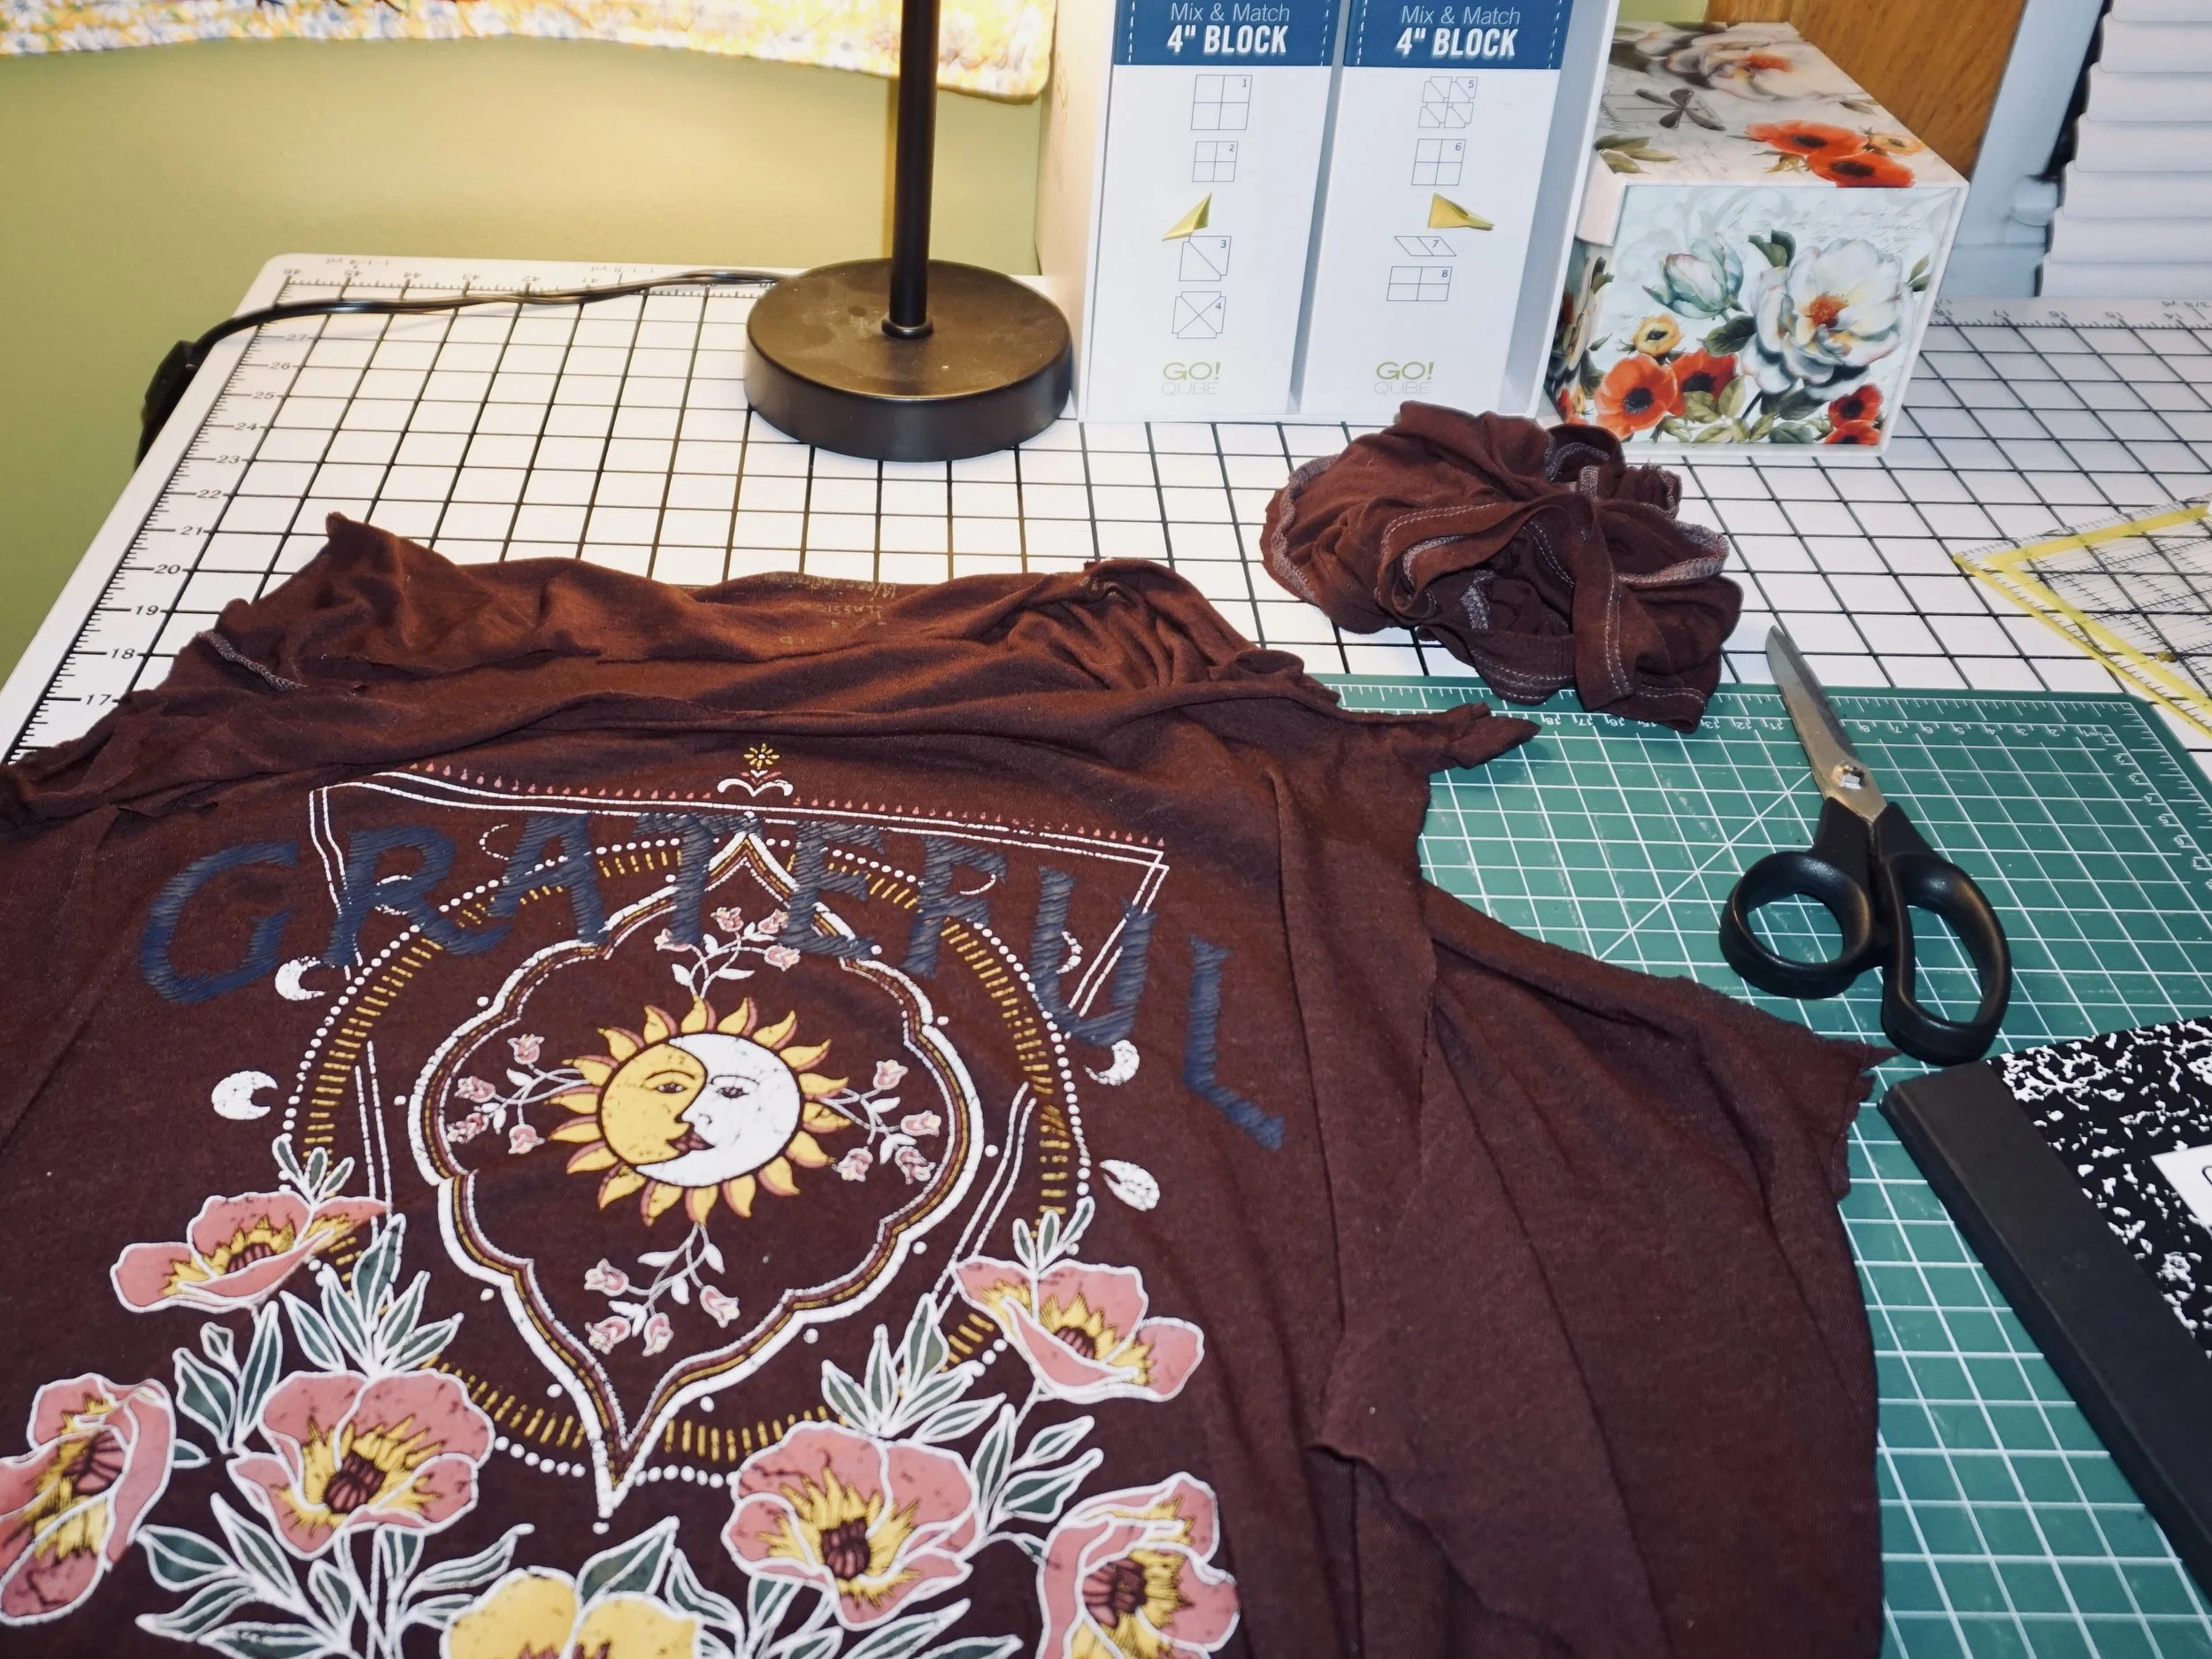
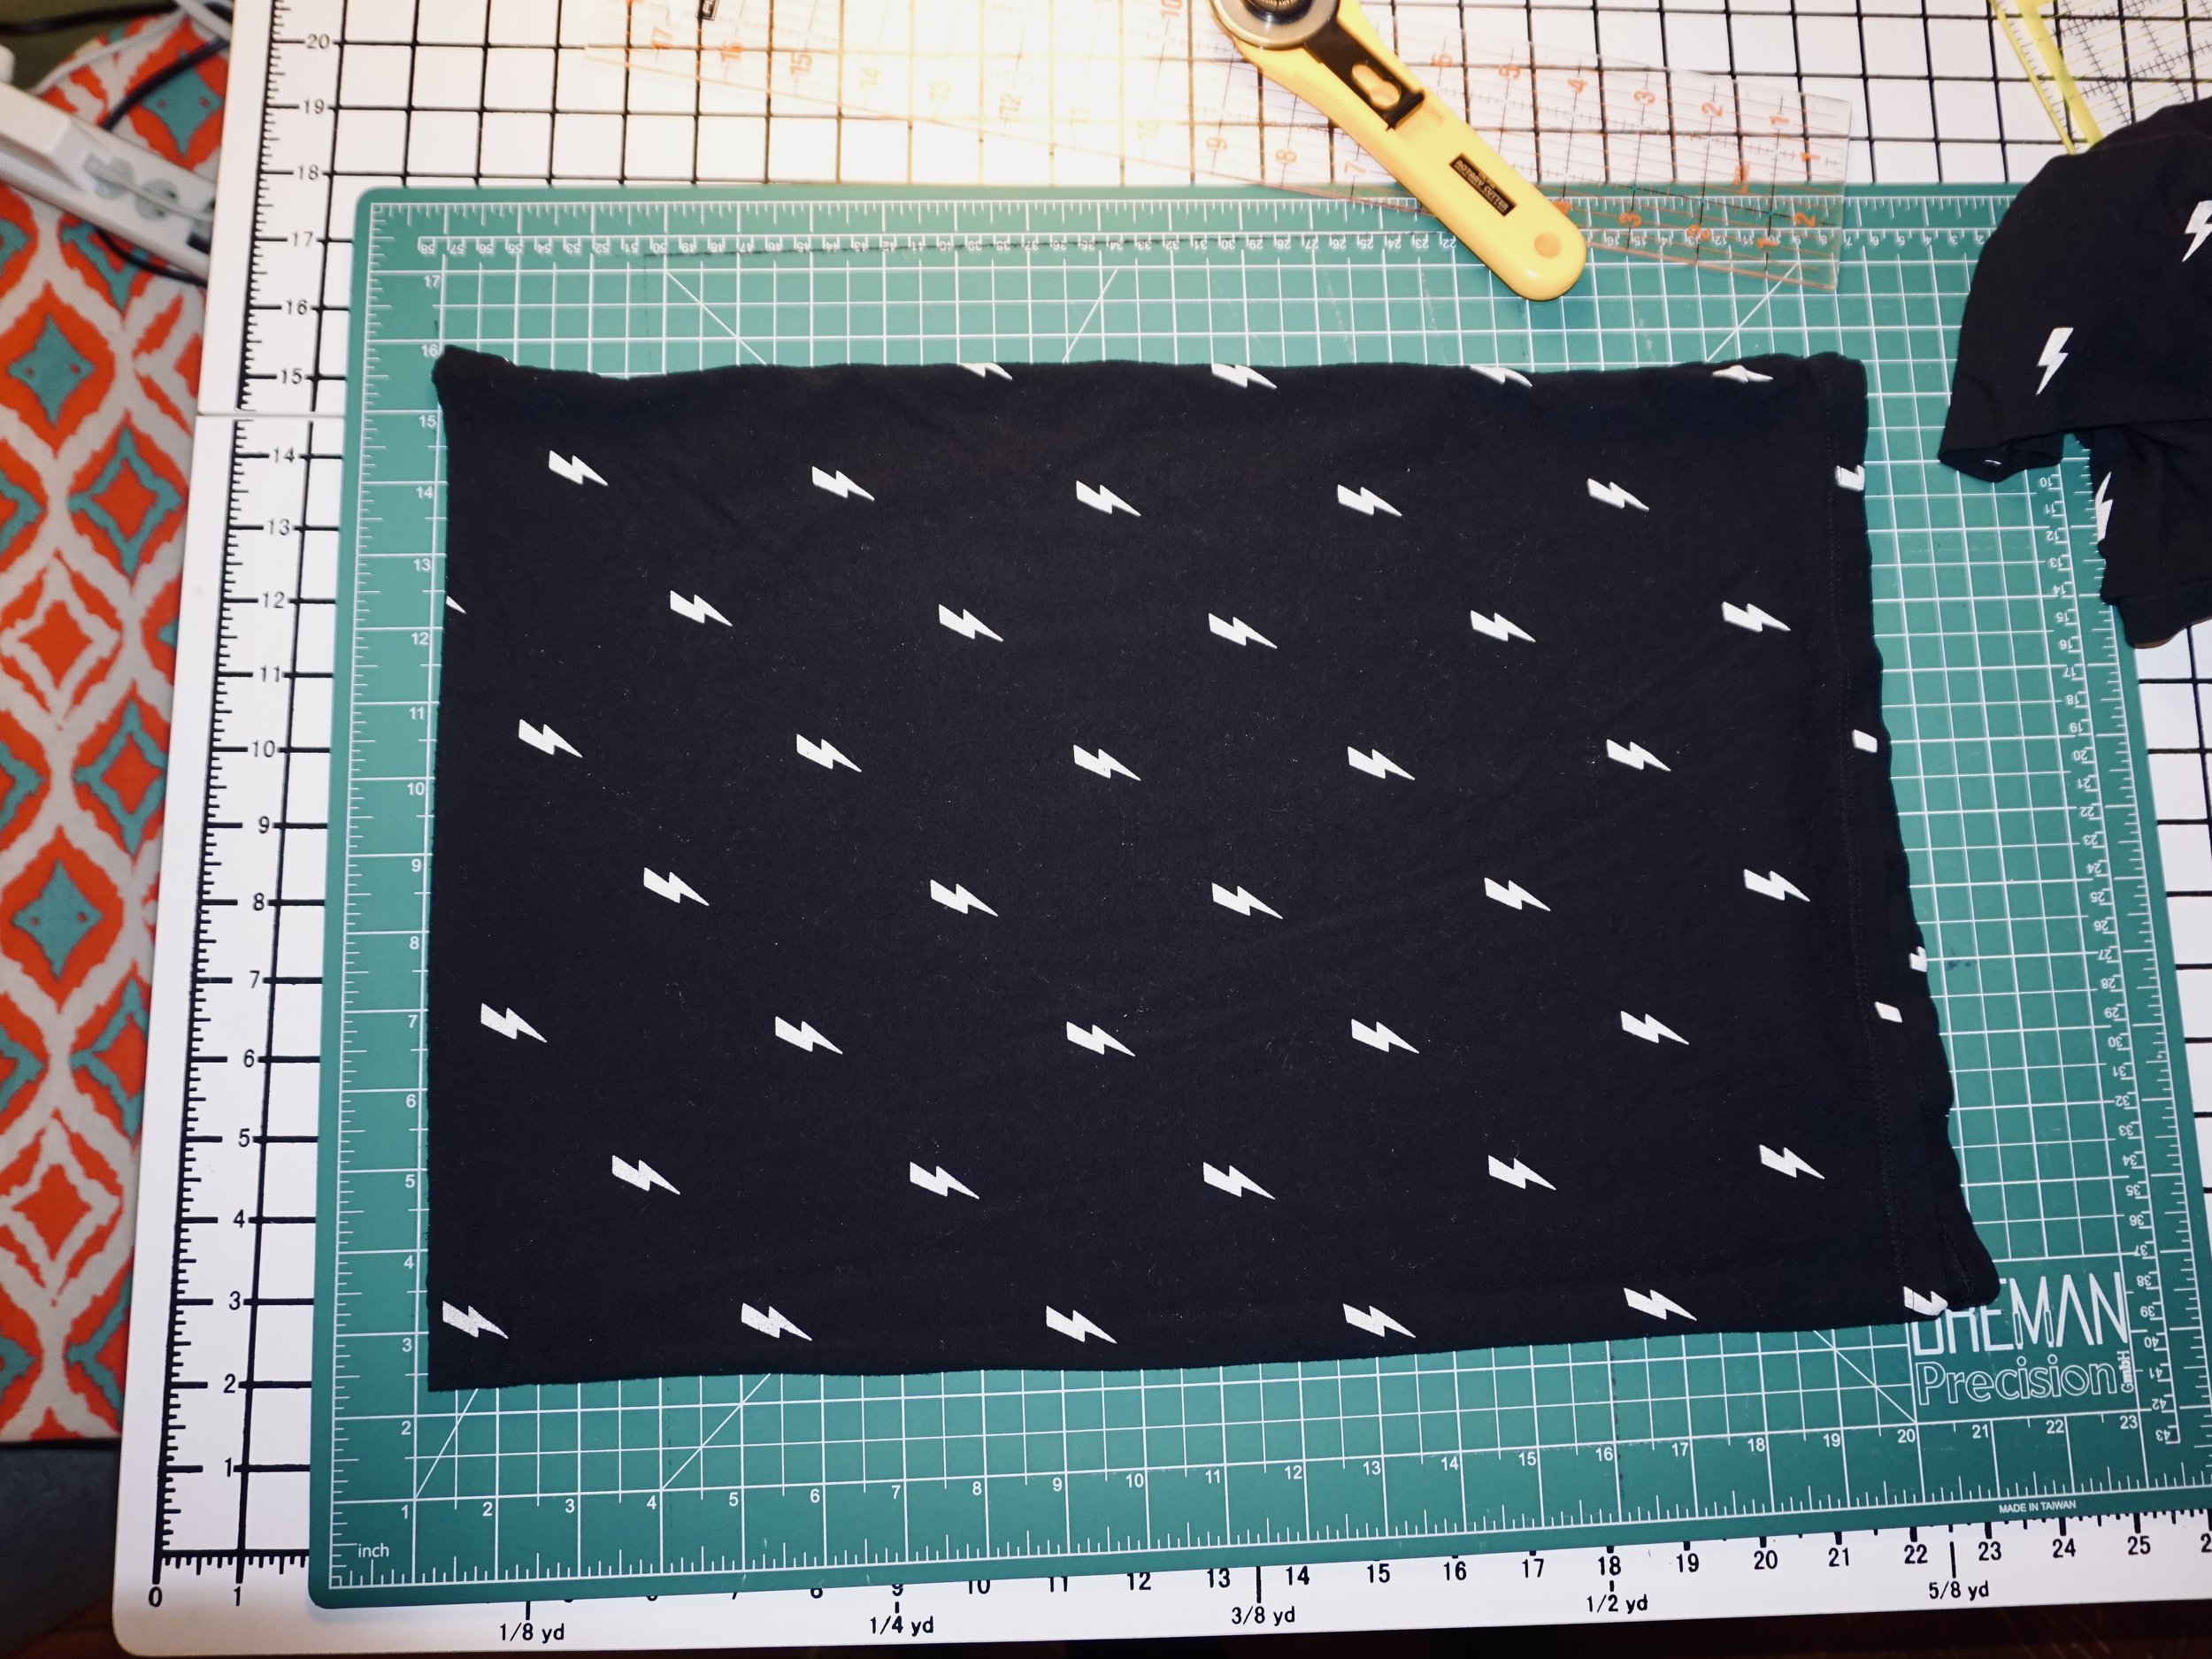
Grab a button down dress that you don’t entirely love, and collect up some old grubby t shirts to go with. Because my dress is black, and I have an abundance of black t shirts, I decided to use up some junky black t shirts from my stash. The white star t shirt was a ringer t, but I felt stupid wearing it! It was one of those things where it just looked a bit too “something”, like maybe trying a bit too hard! LOL. I’m hoping the star might be a cool addition to this fall jacket!
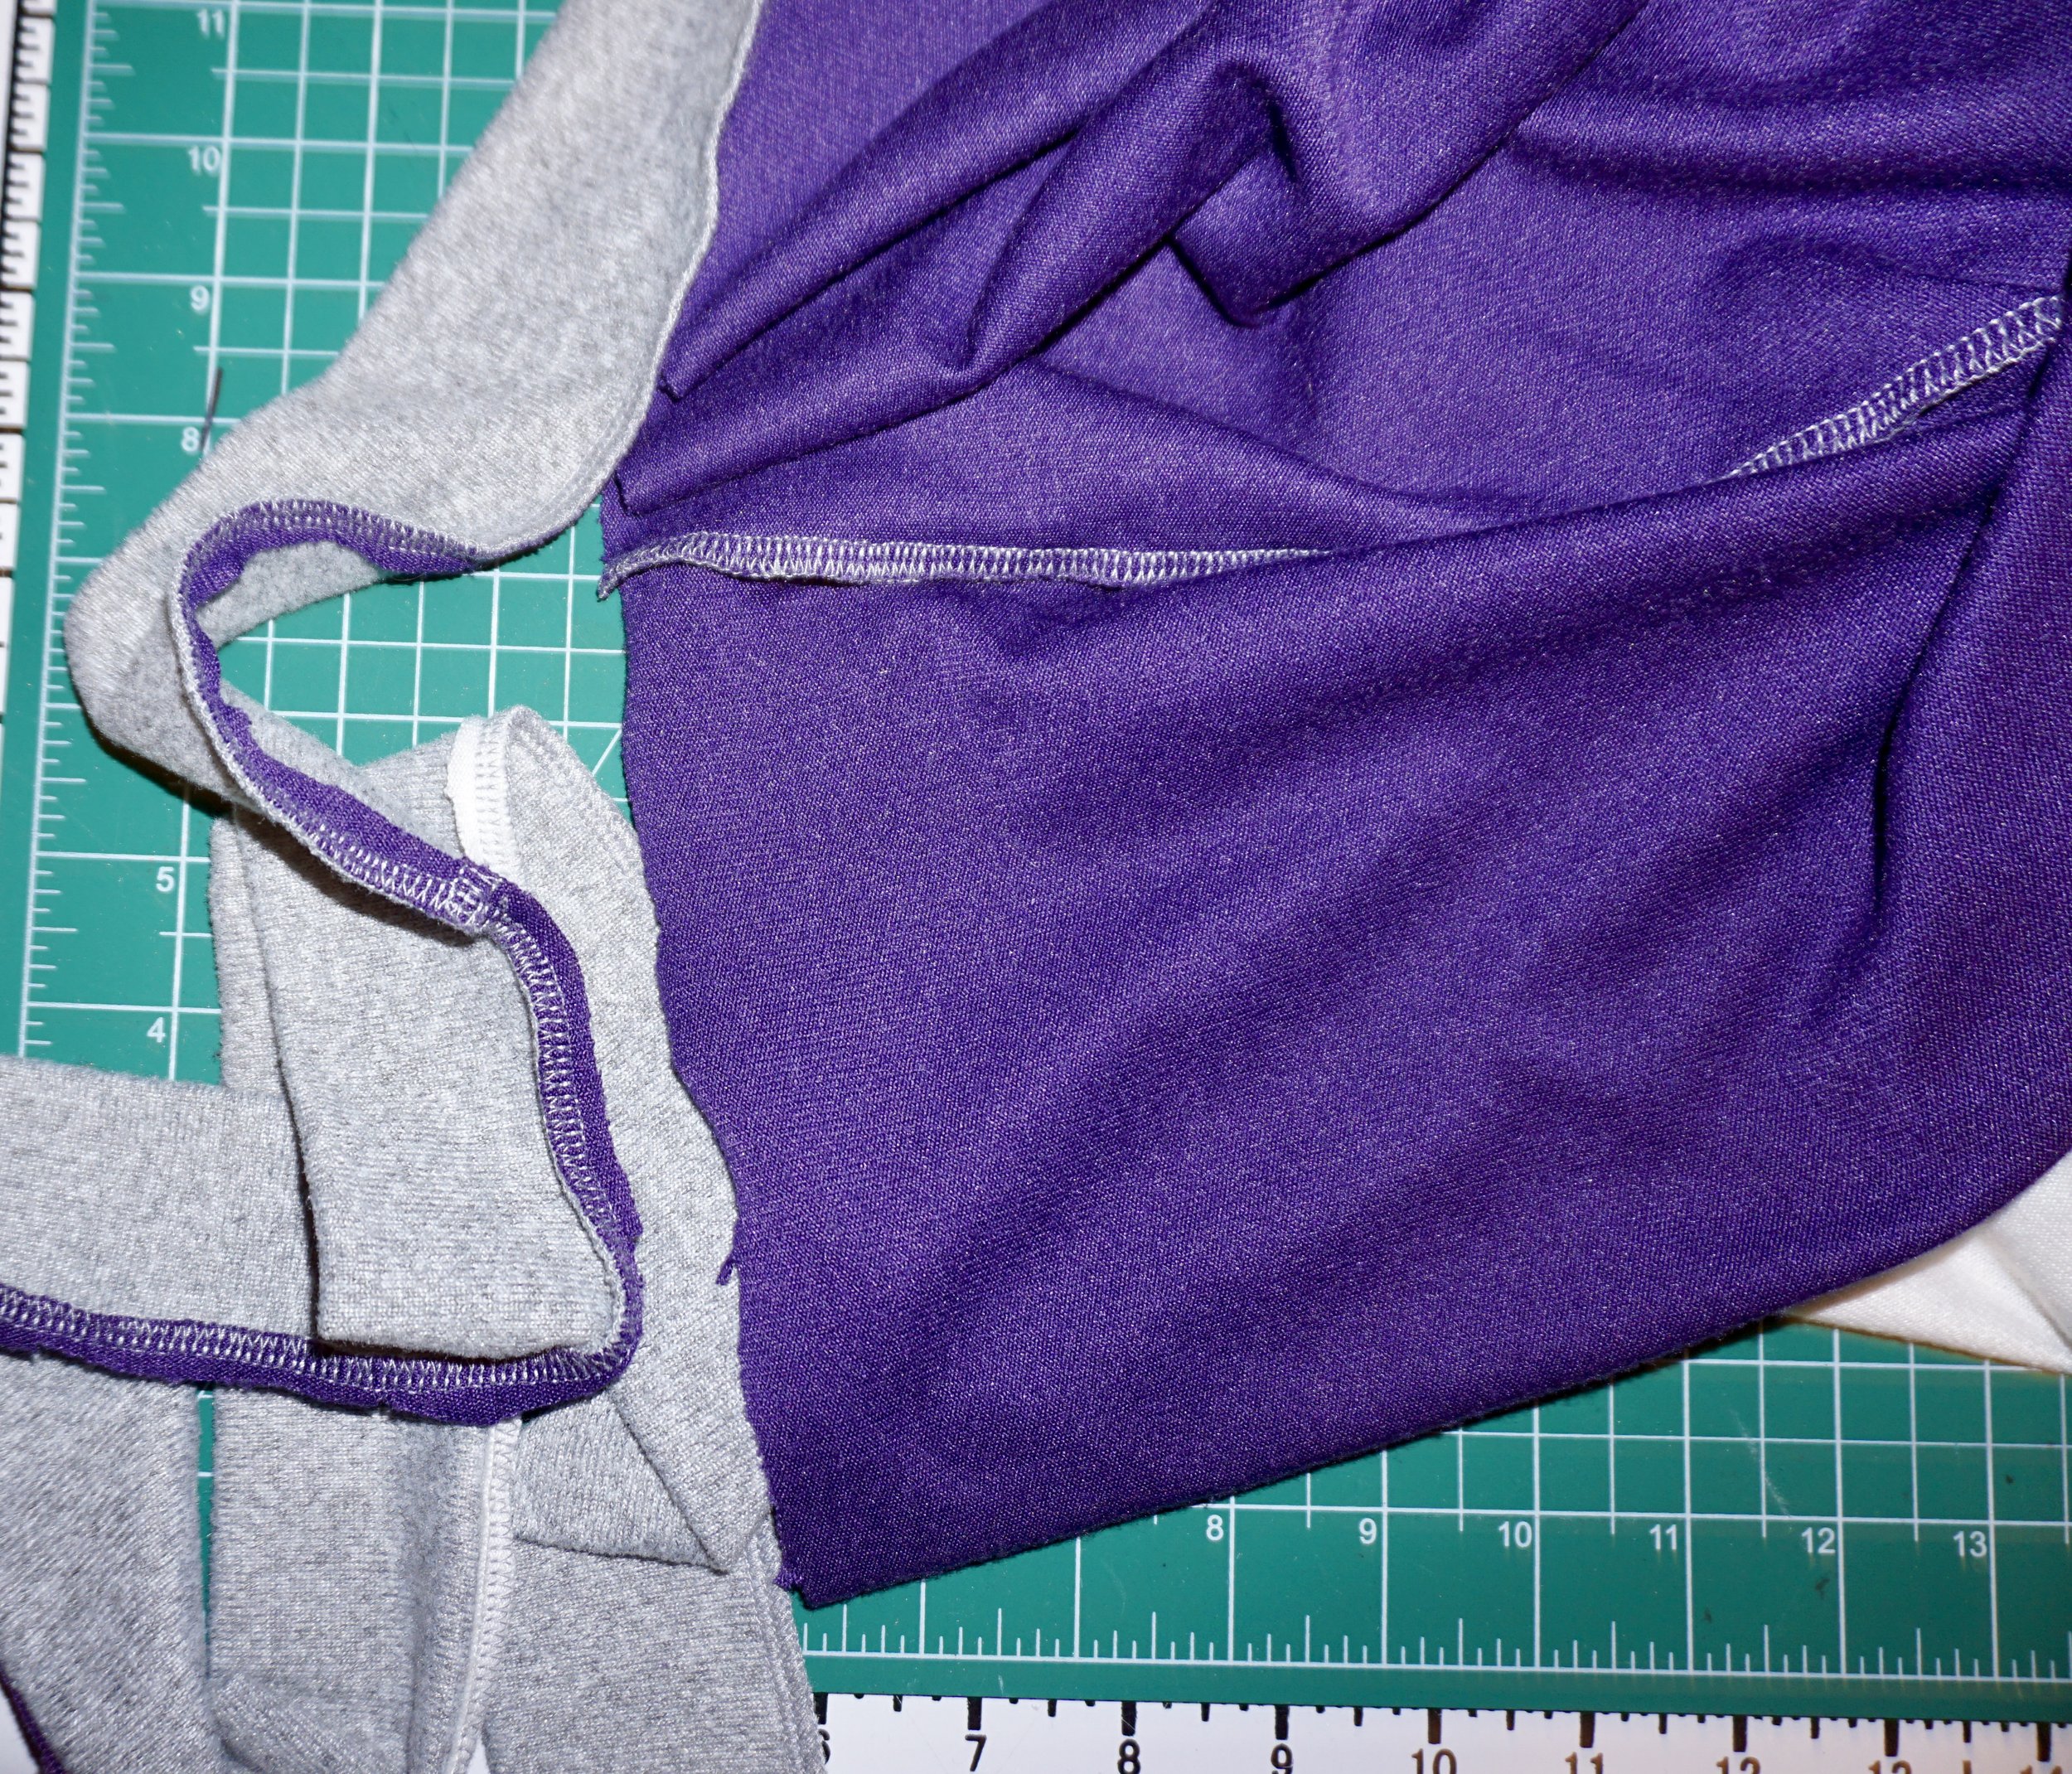
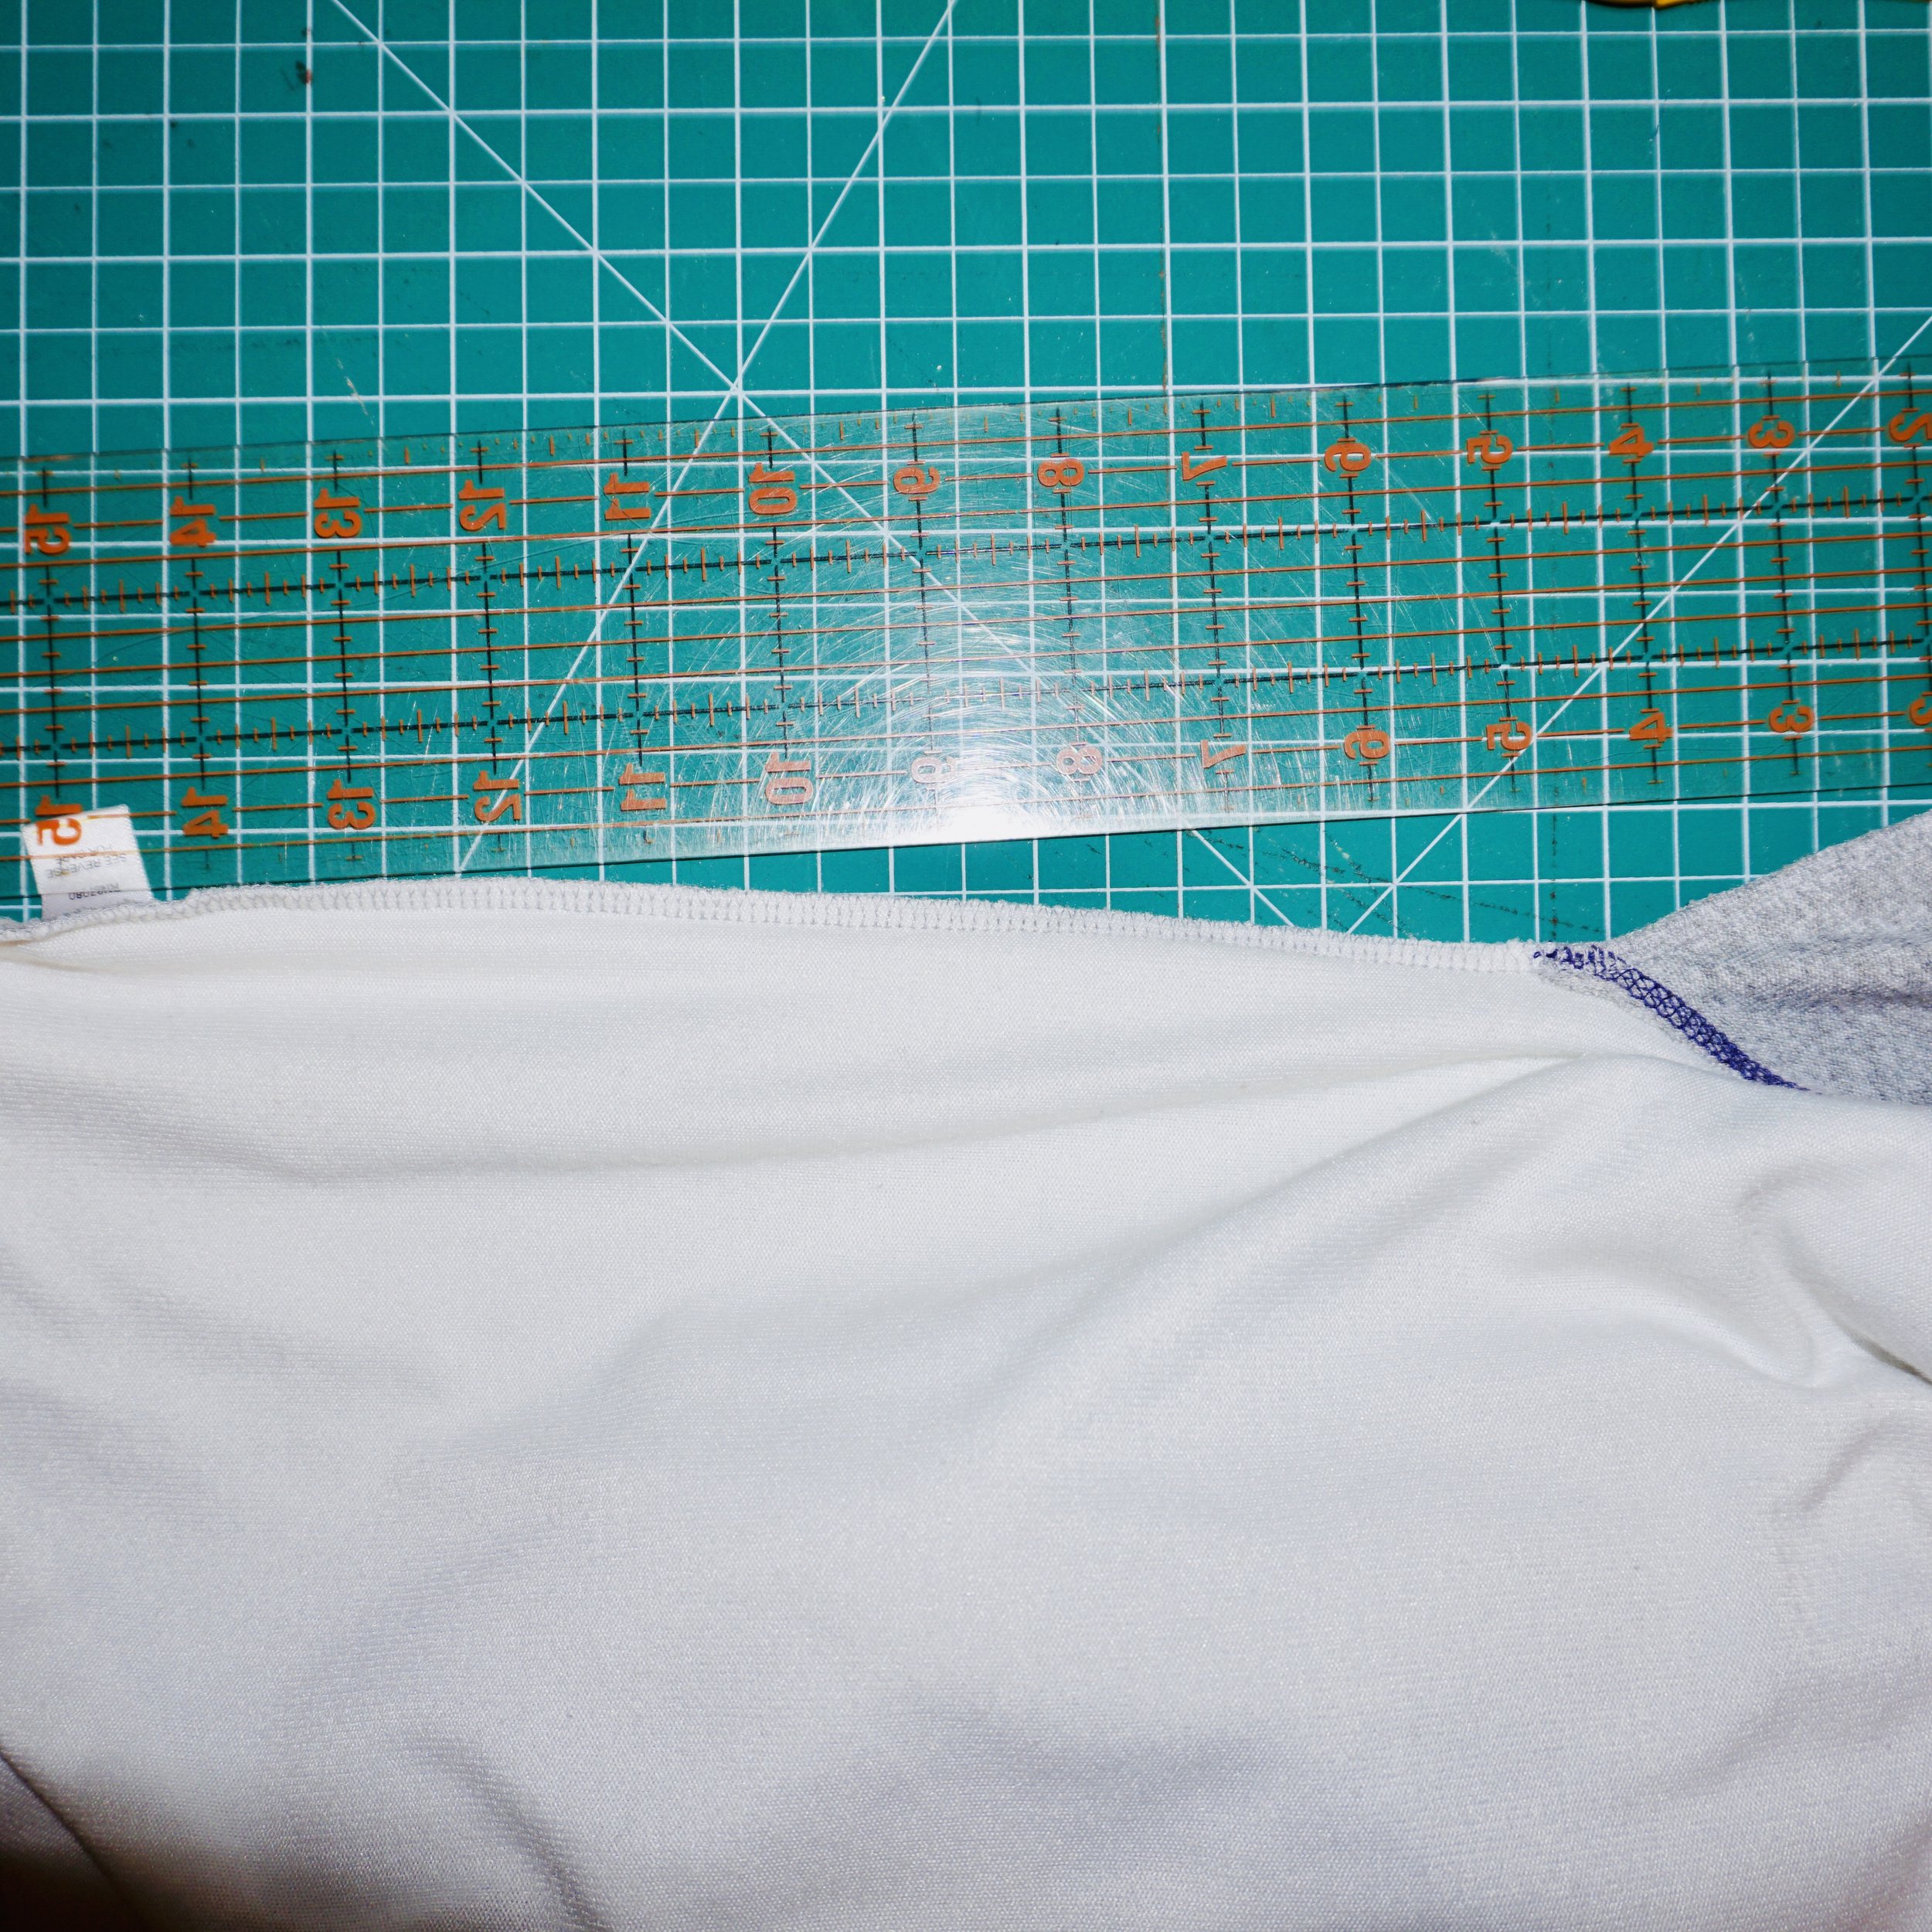
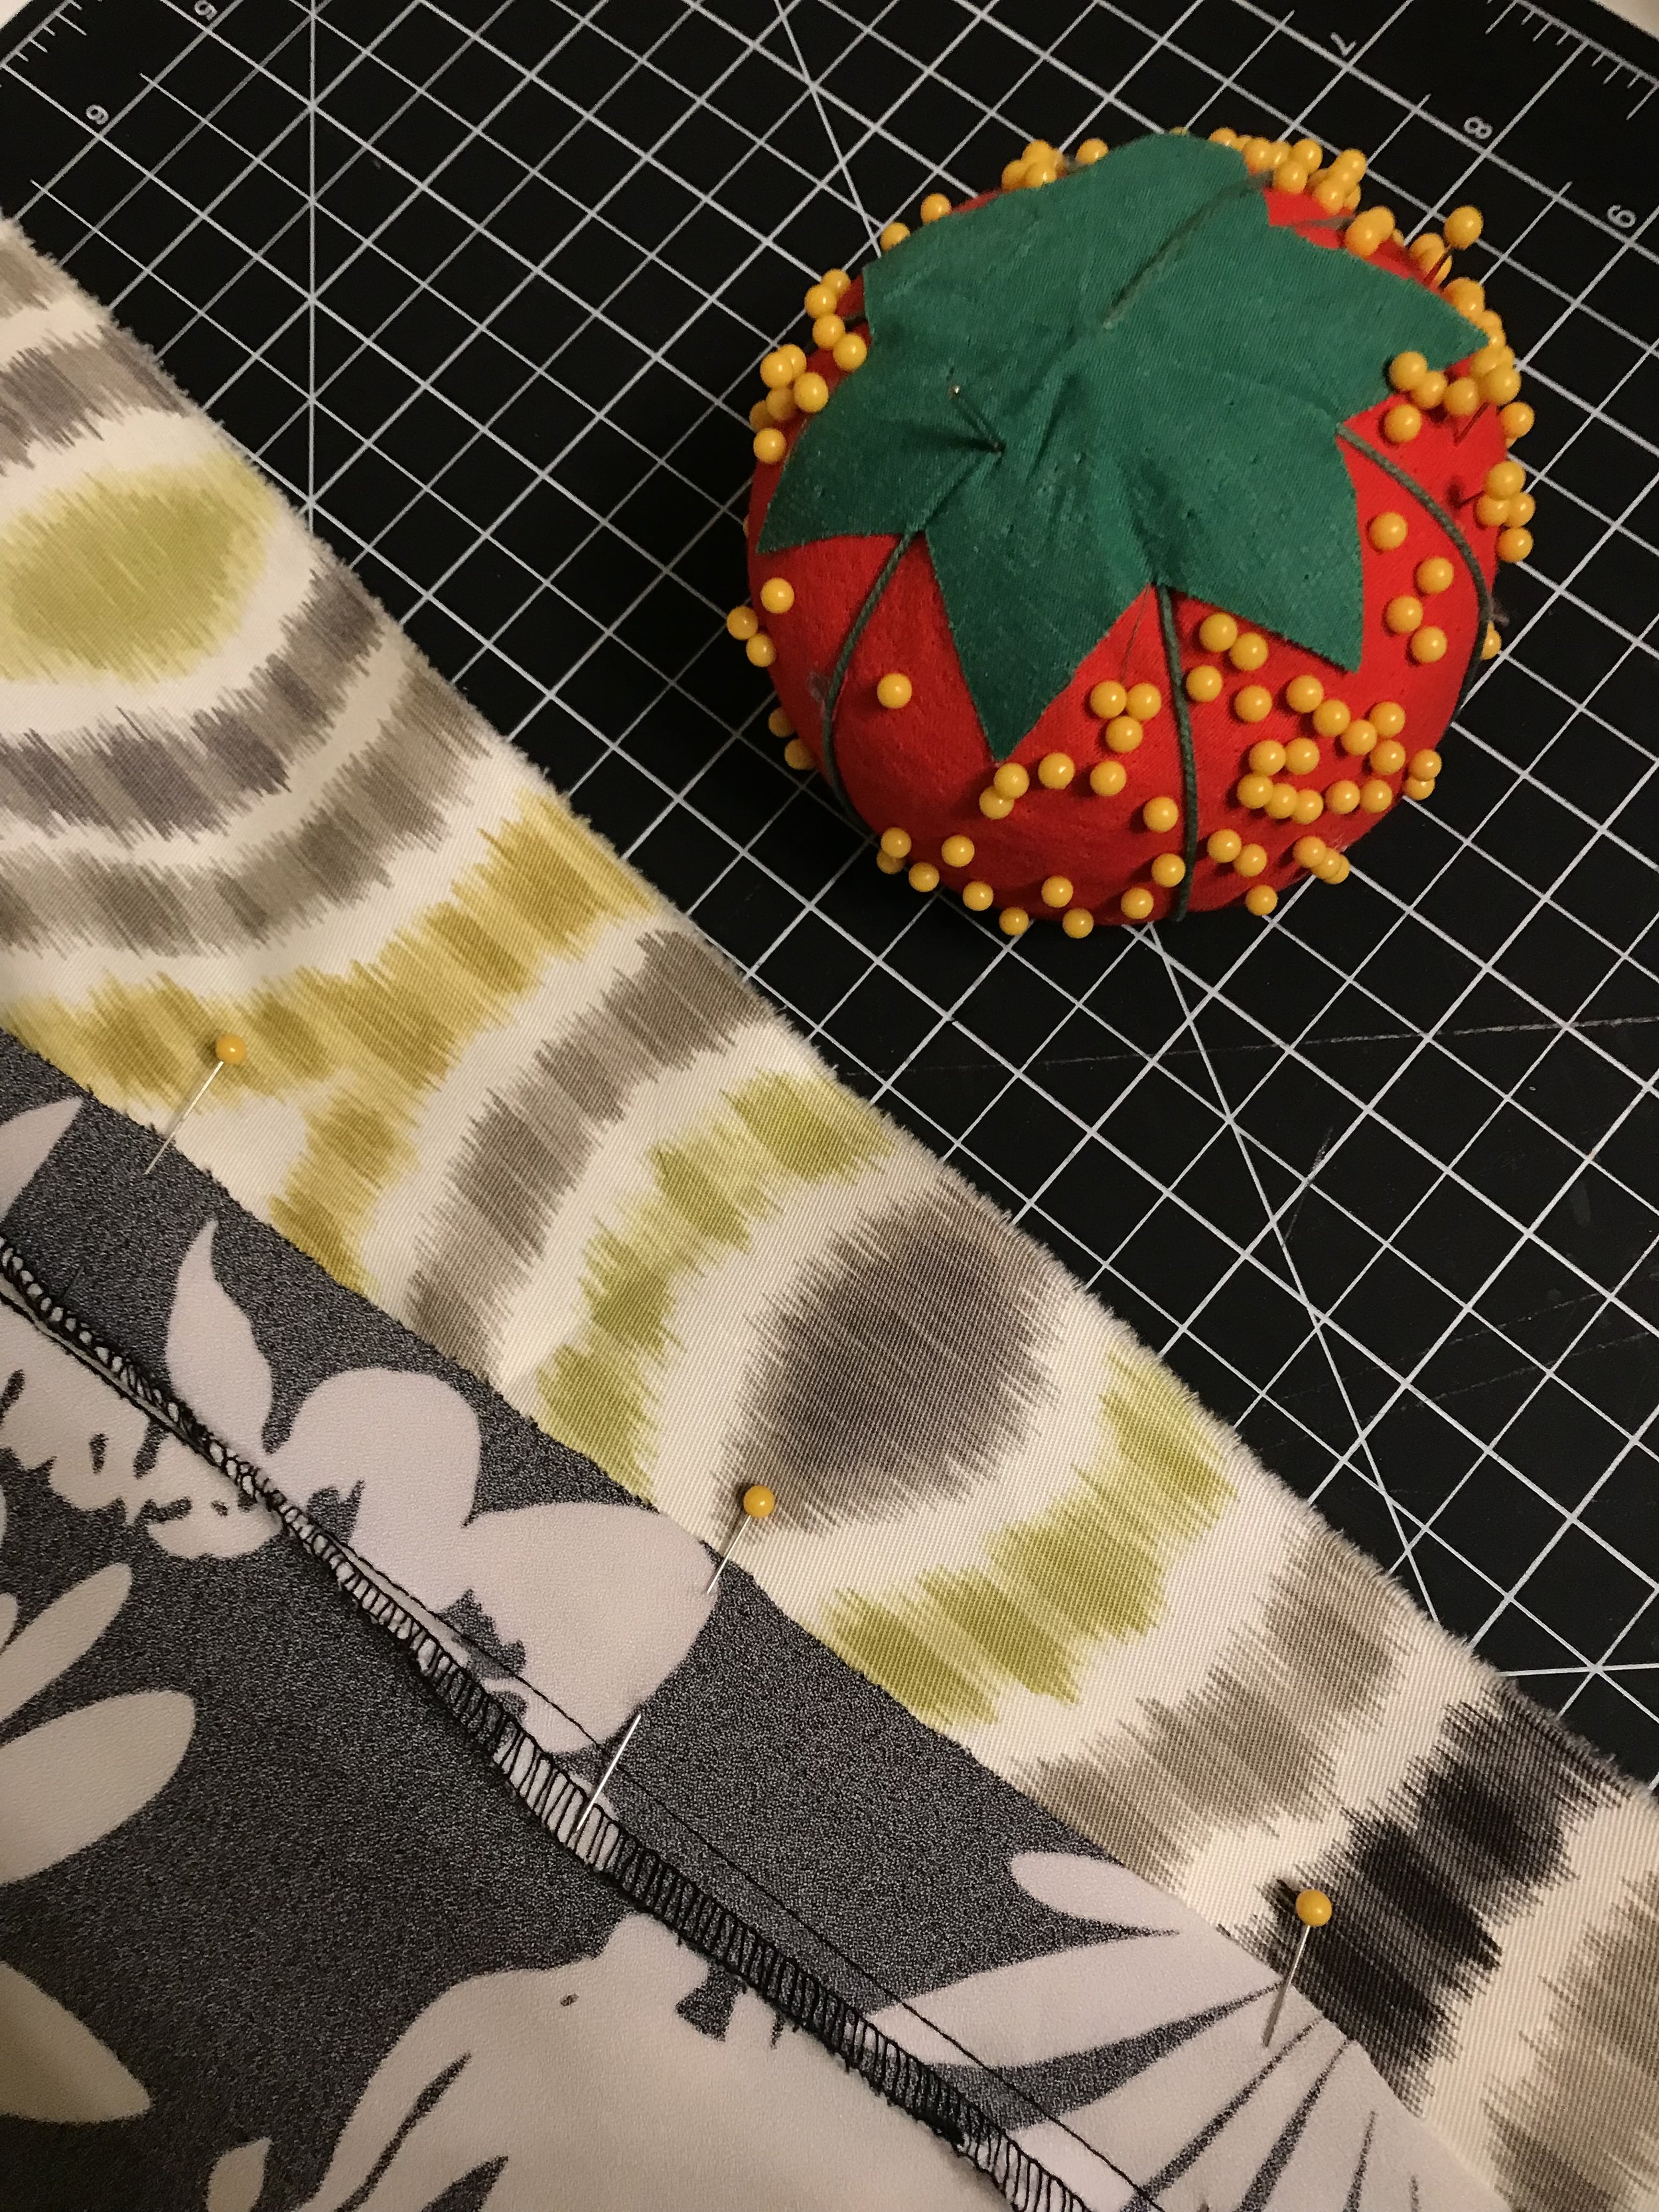
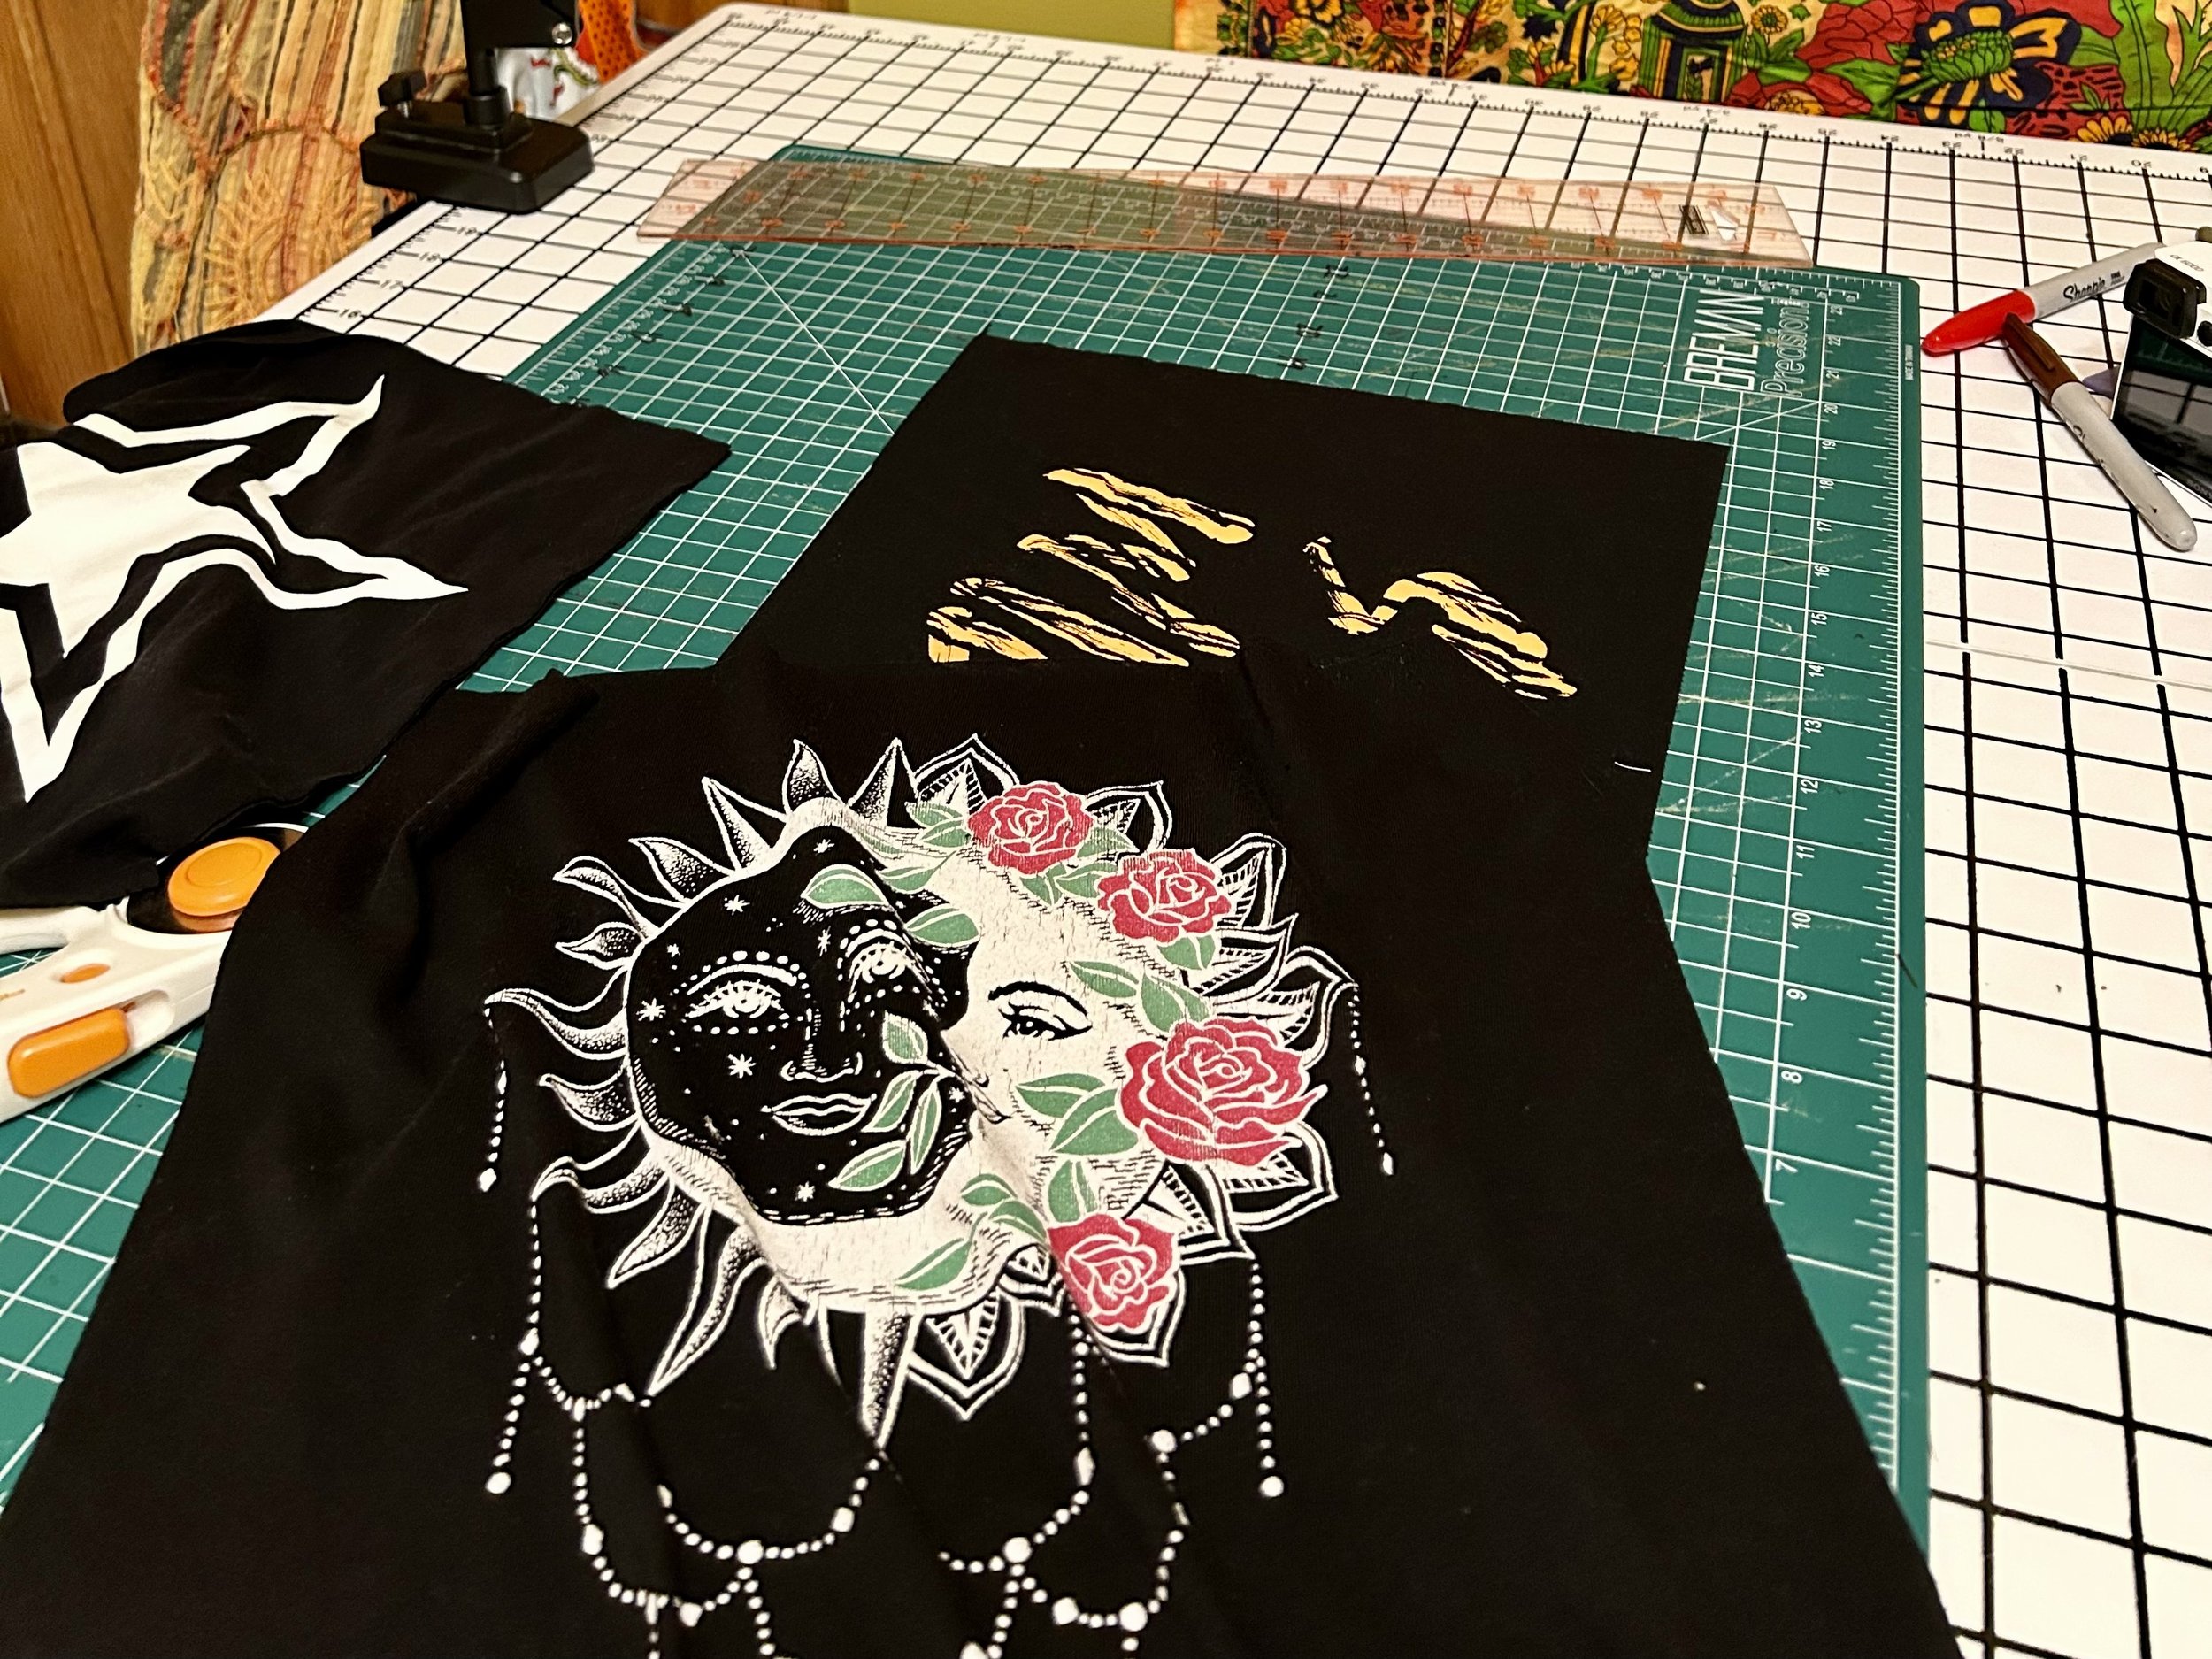
First, I trimmed down the t shirts. I cut around the imagery on the shirts, not perfectly centered but close enough works for me! Then, I cut right up the middle of the back of the dress. There was a large seam there, so I cut on either side of the seam and removed it.
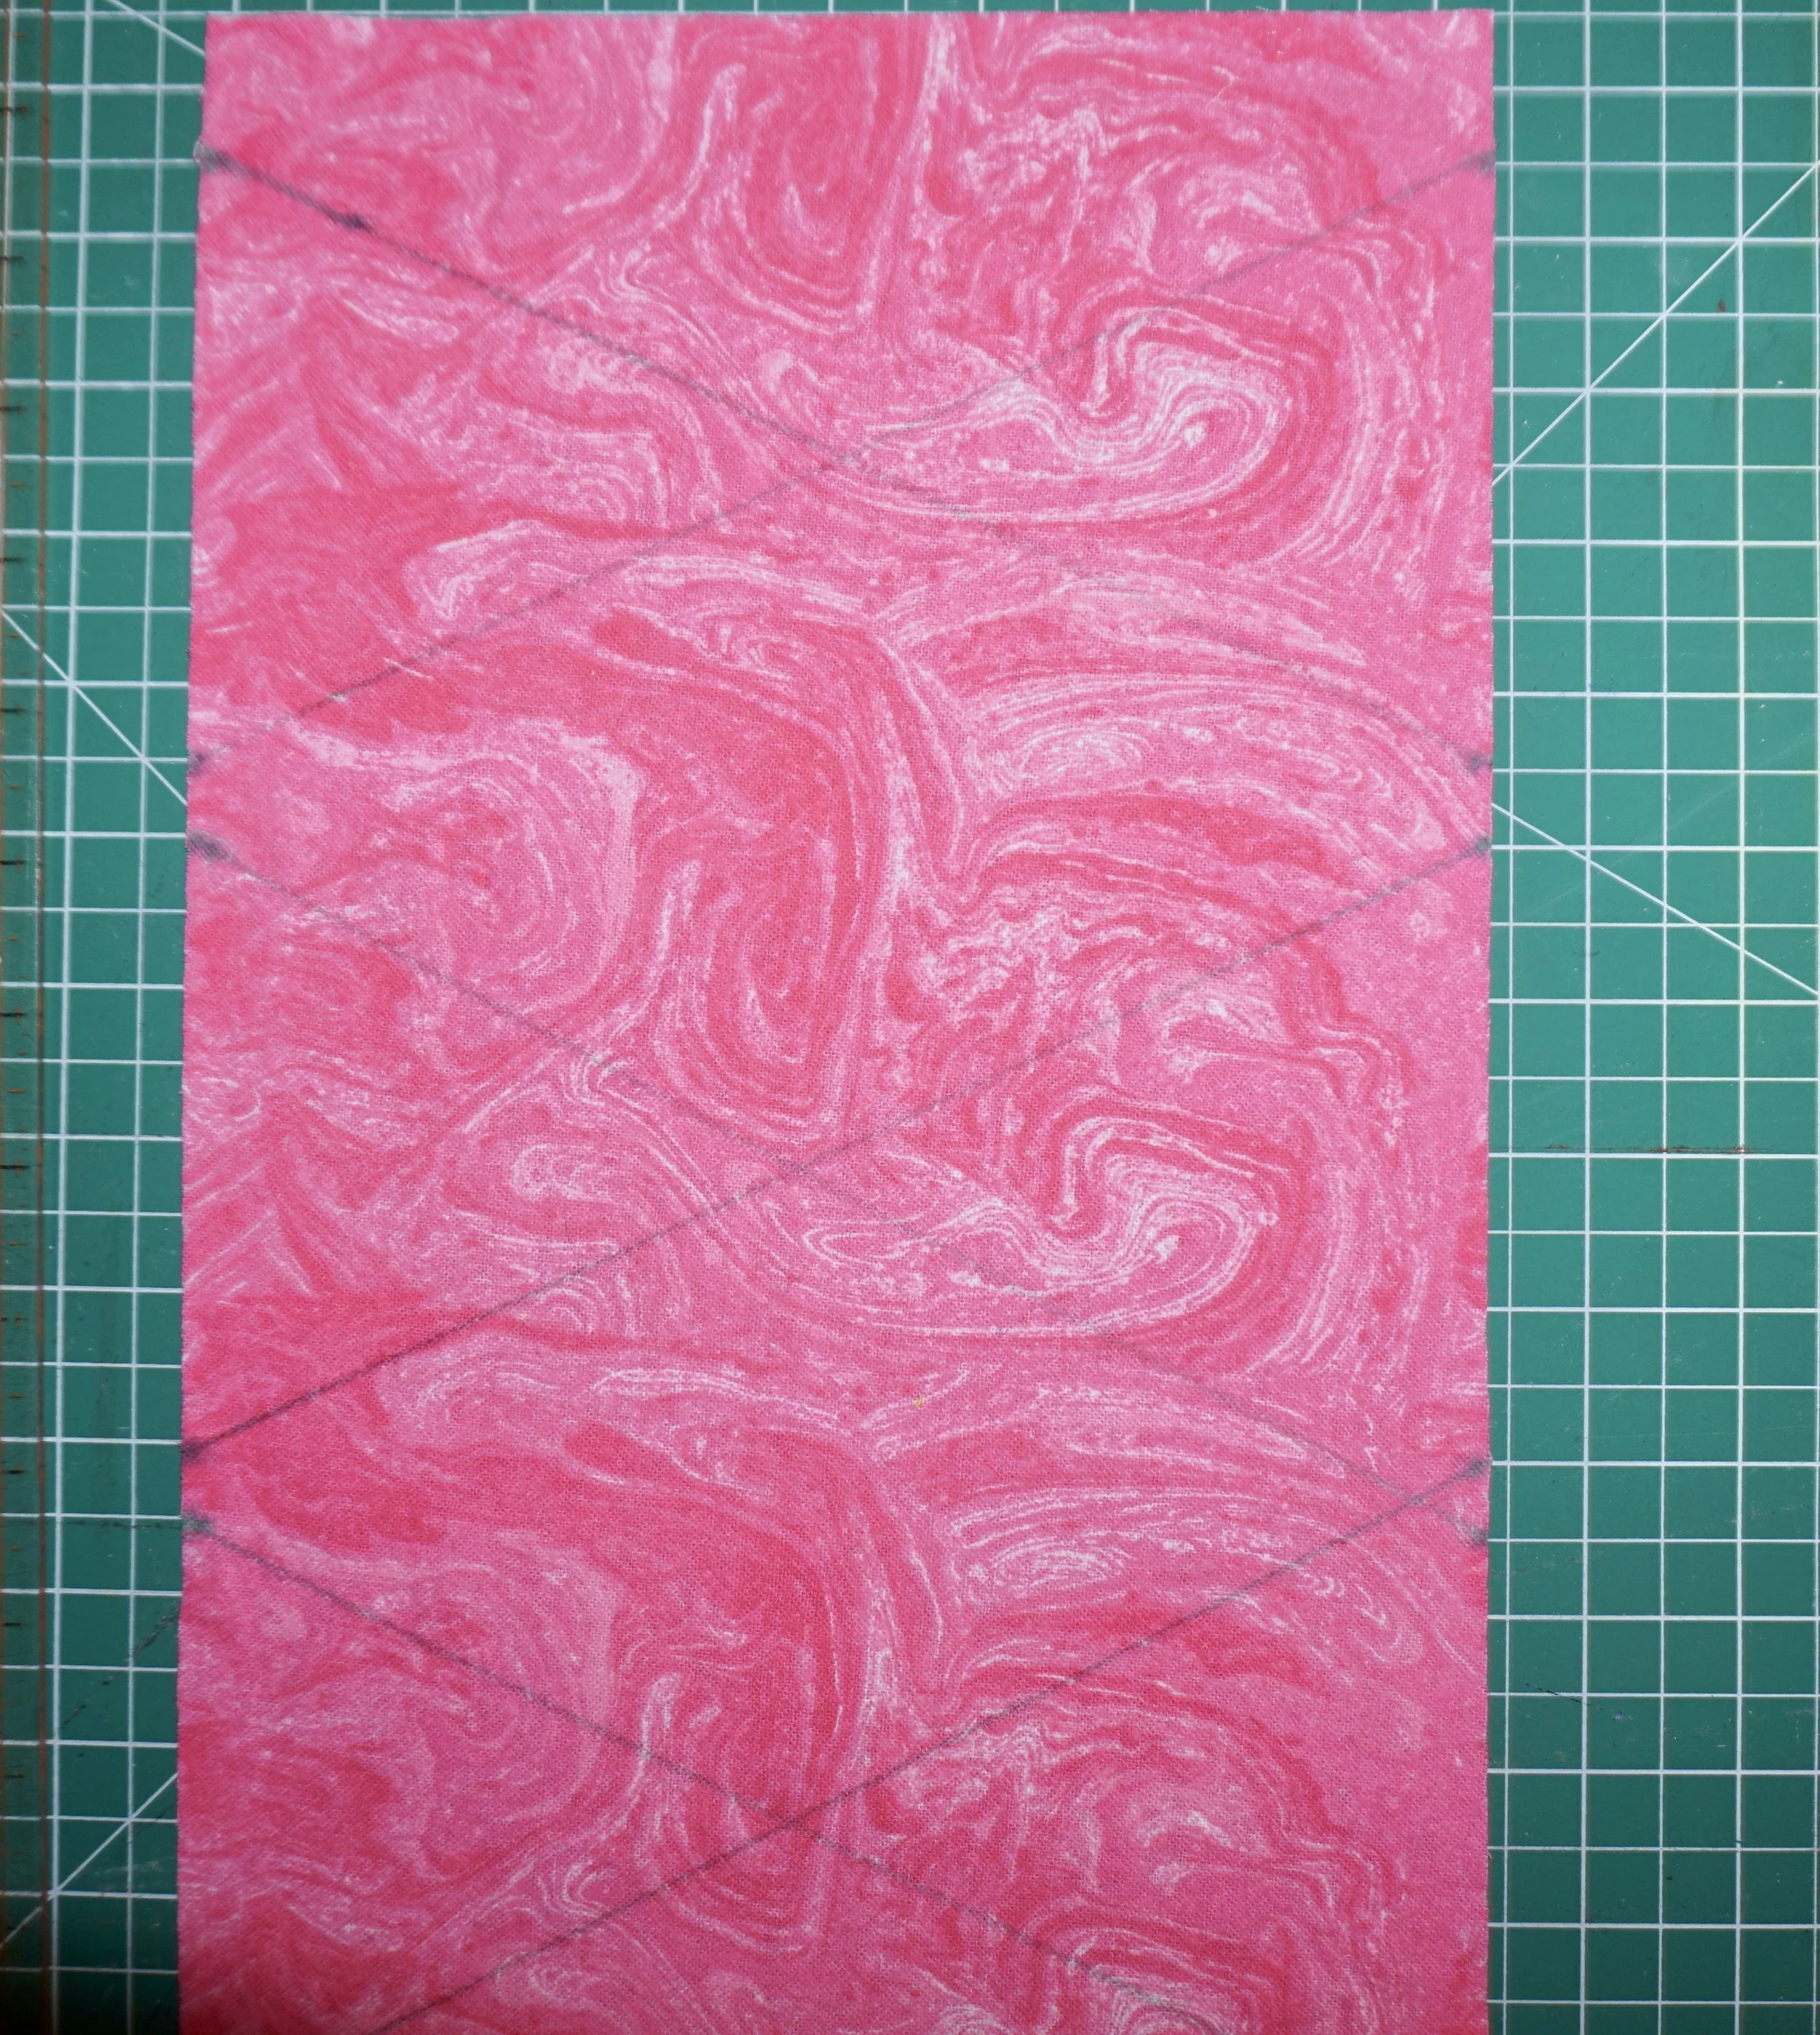
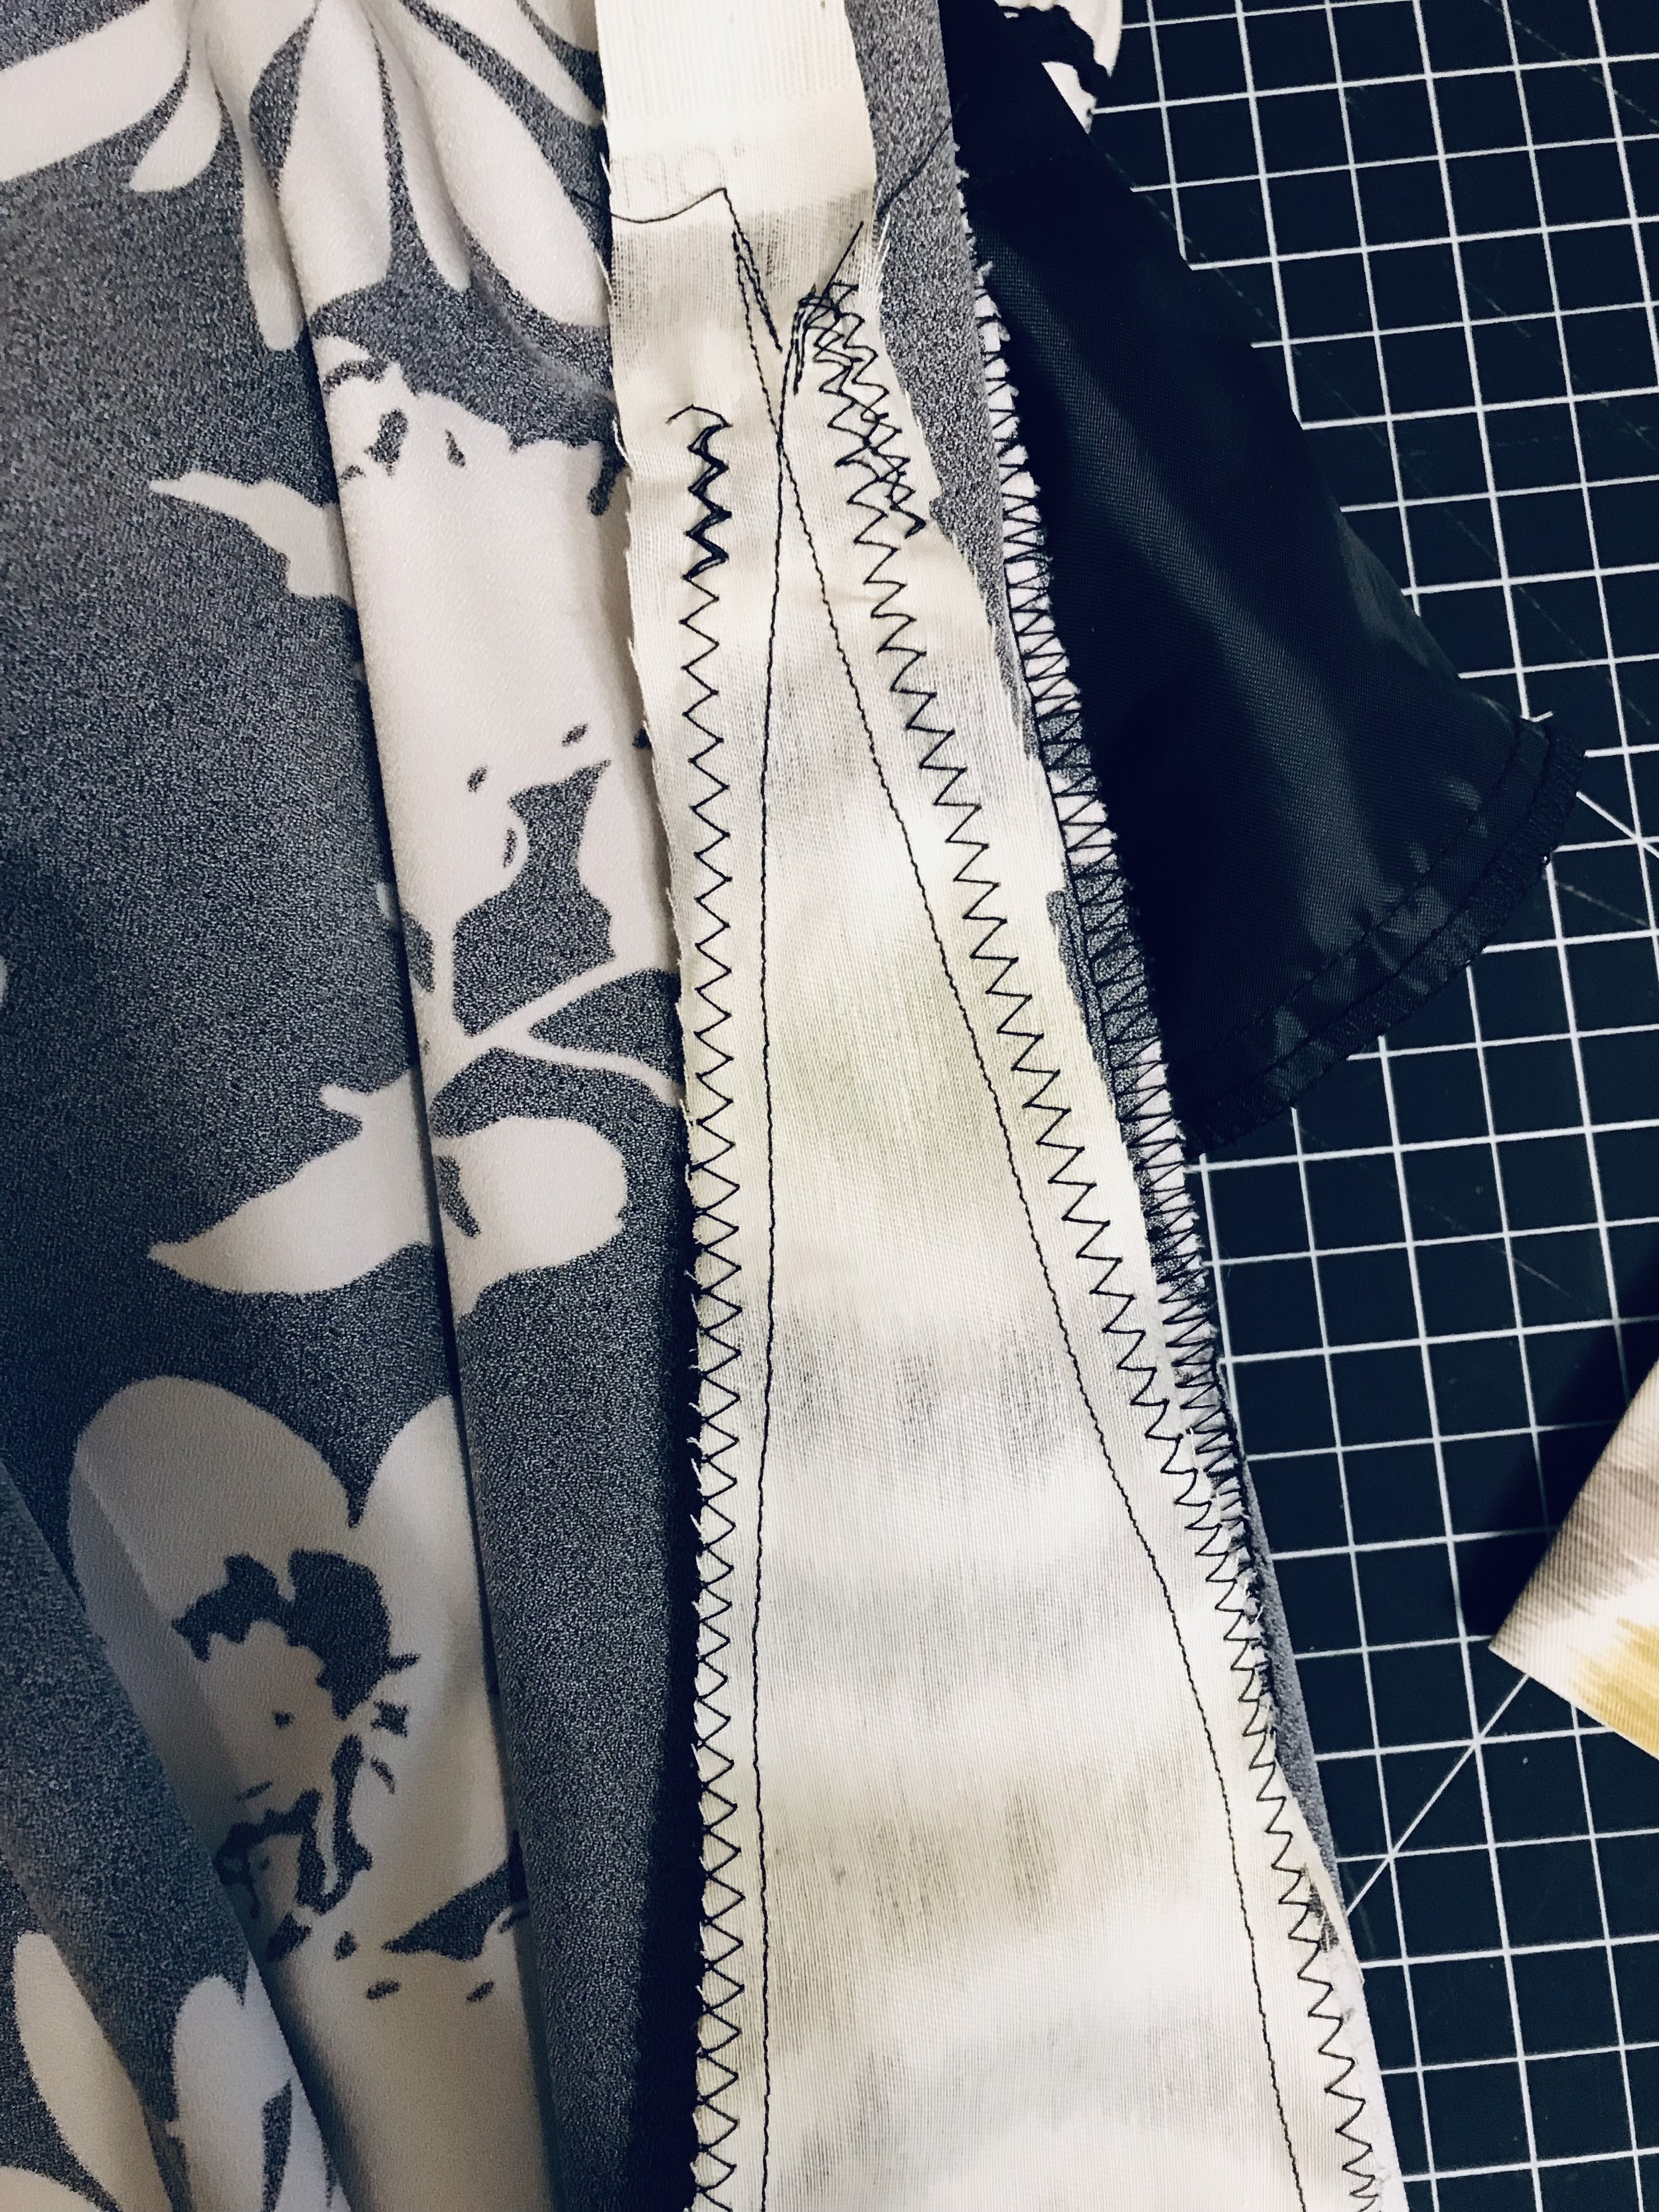
Add inserts wherever you want to add more fullness. I wanted the jacket to be a little less form fitting around the bottom, so I added the insert into the middle back. I created a patchwork of t shirt scraps, then sewed them into the slit. Sew the inserts like a big triangle, similar to what you would sew into bell bottoms. This will make the dress more roomy and flowy, perfect to layer long sleeve shirts under. If the sleeves are tight, you might want to add some panels into the sleeves too for layering space.

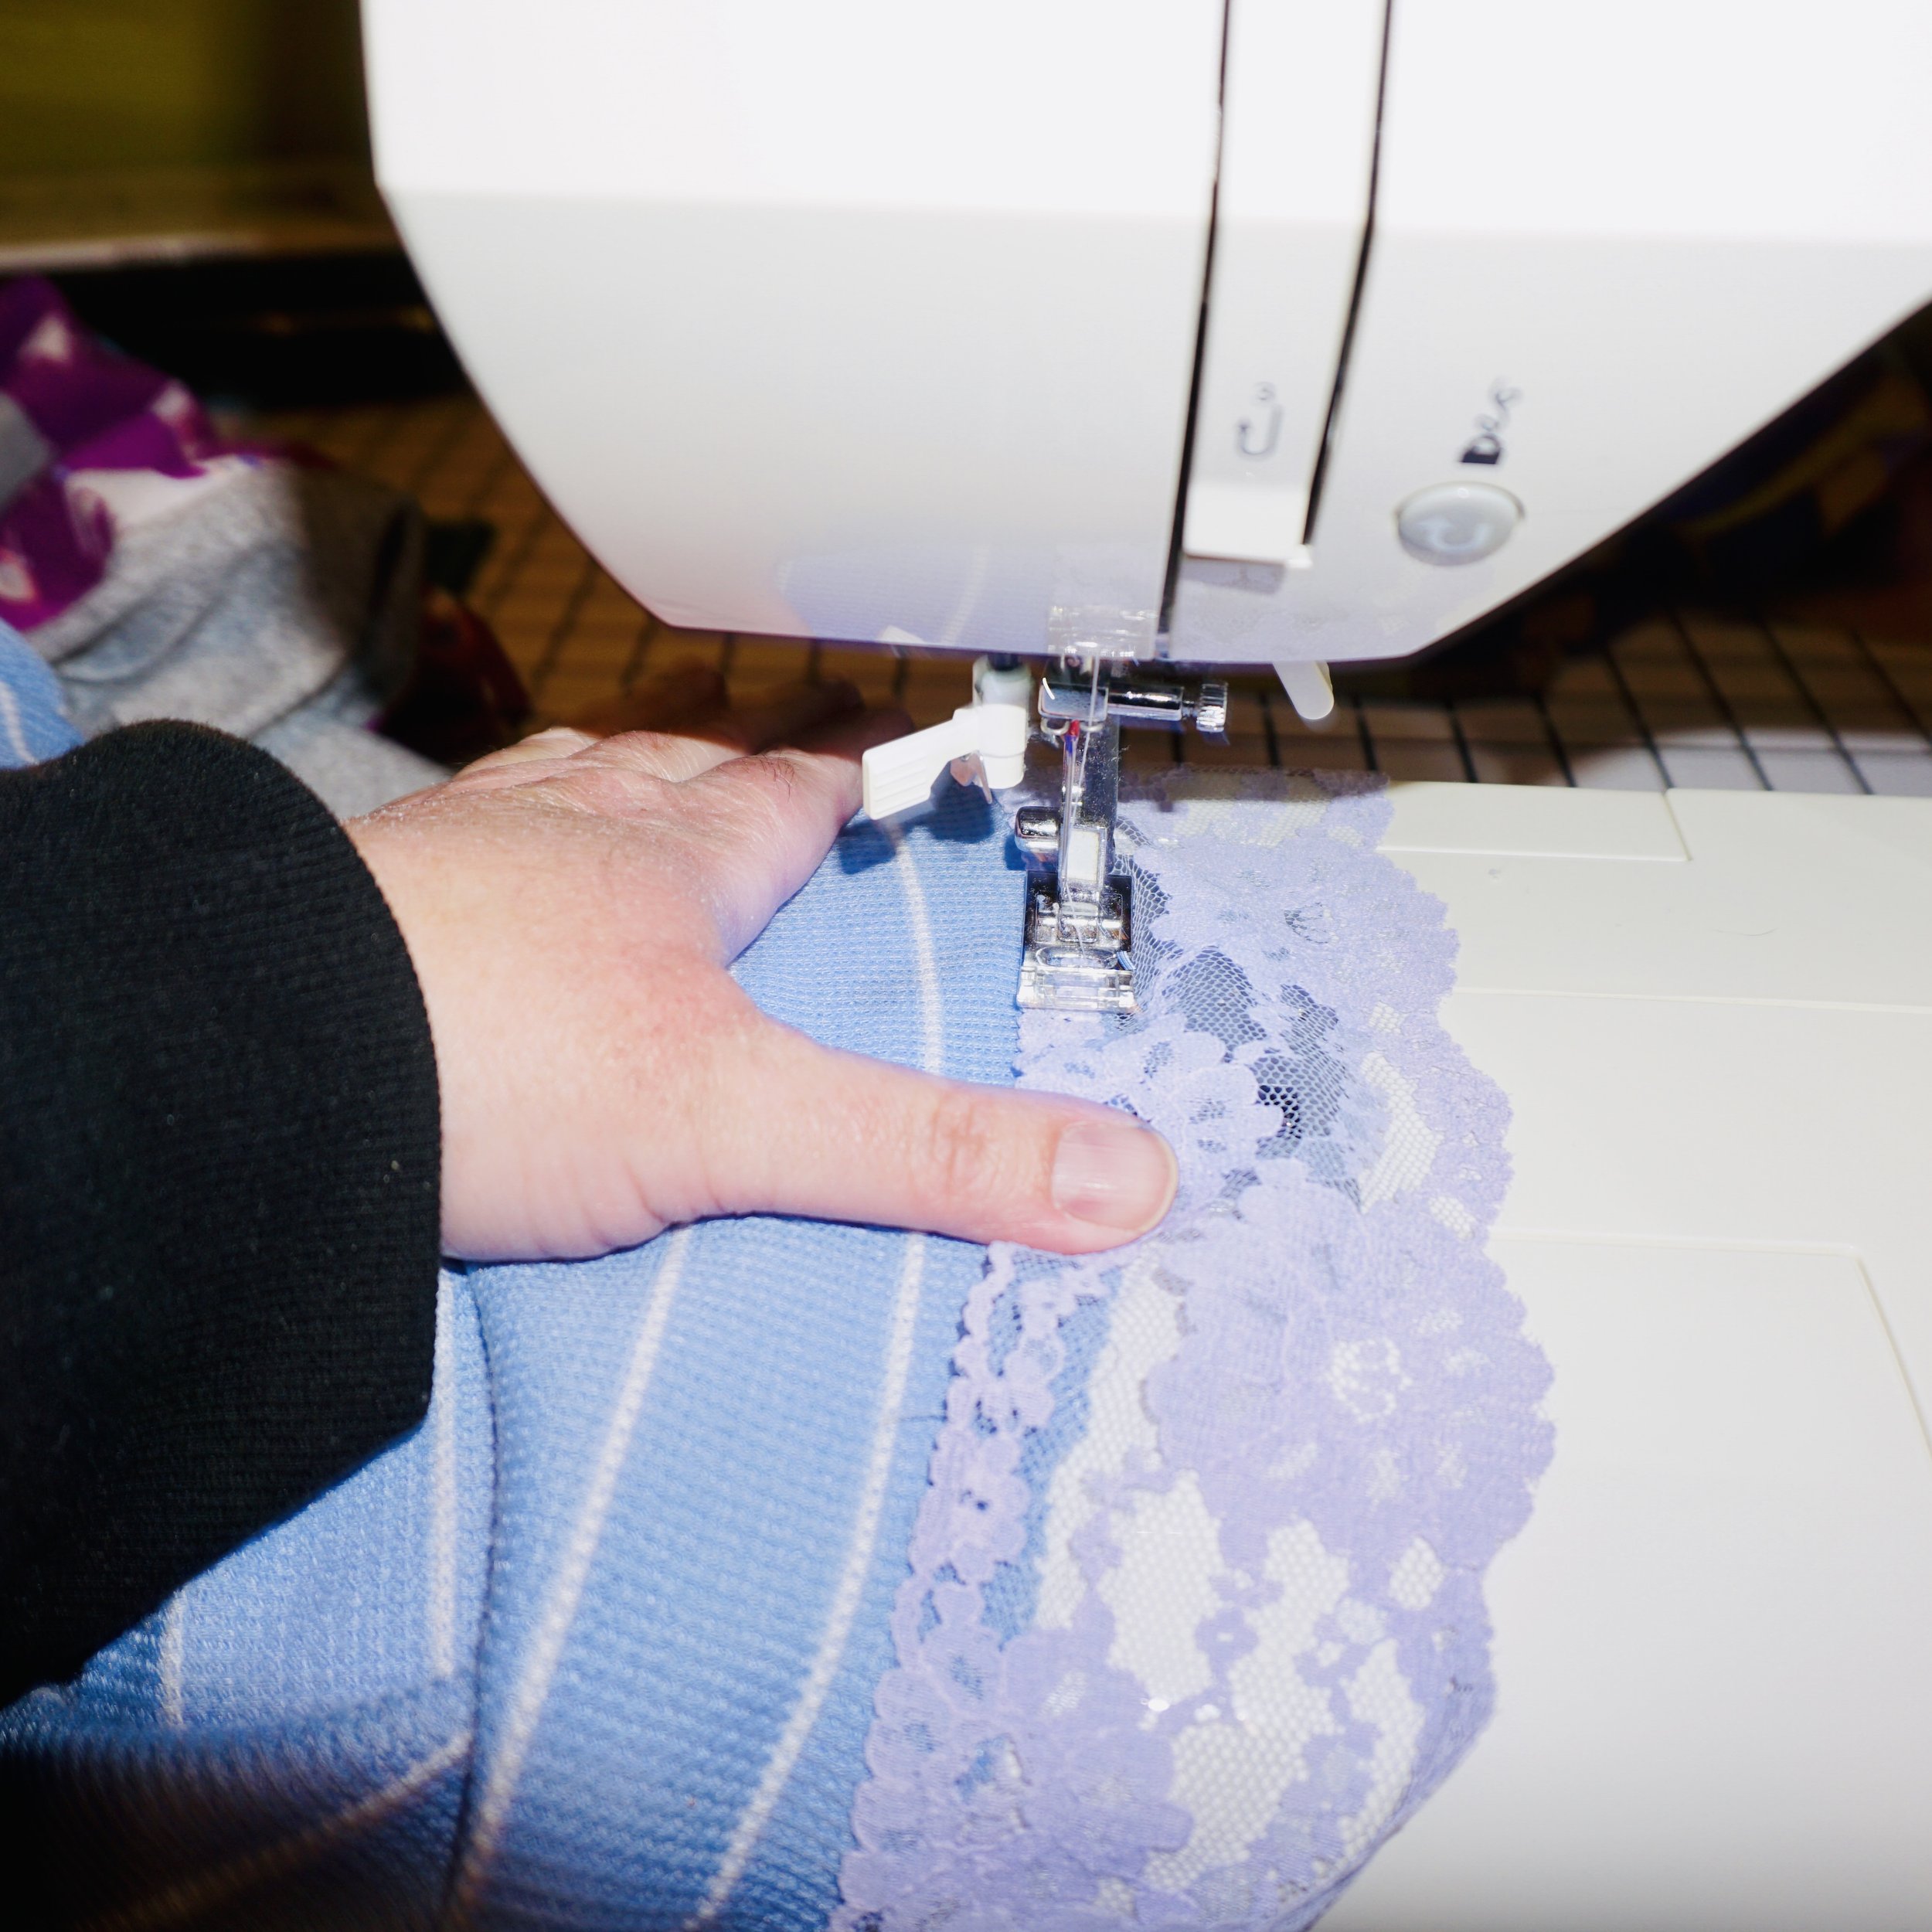
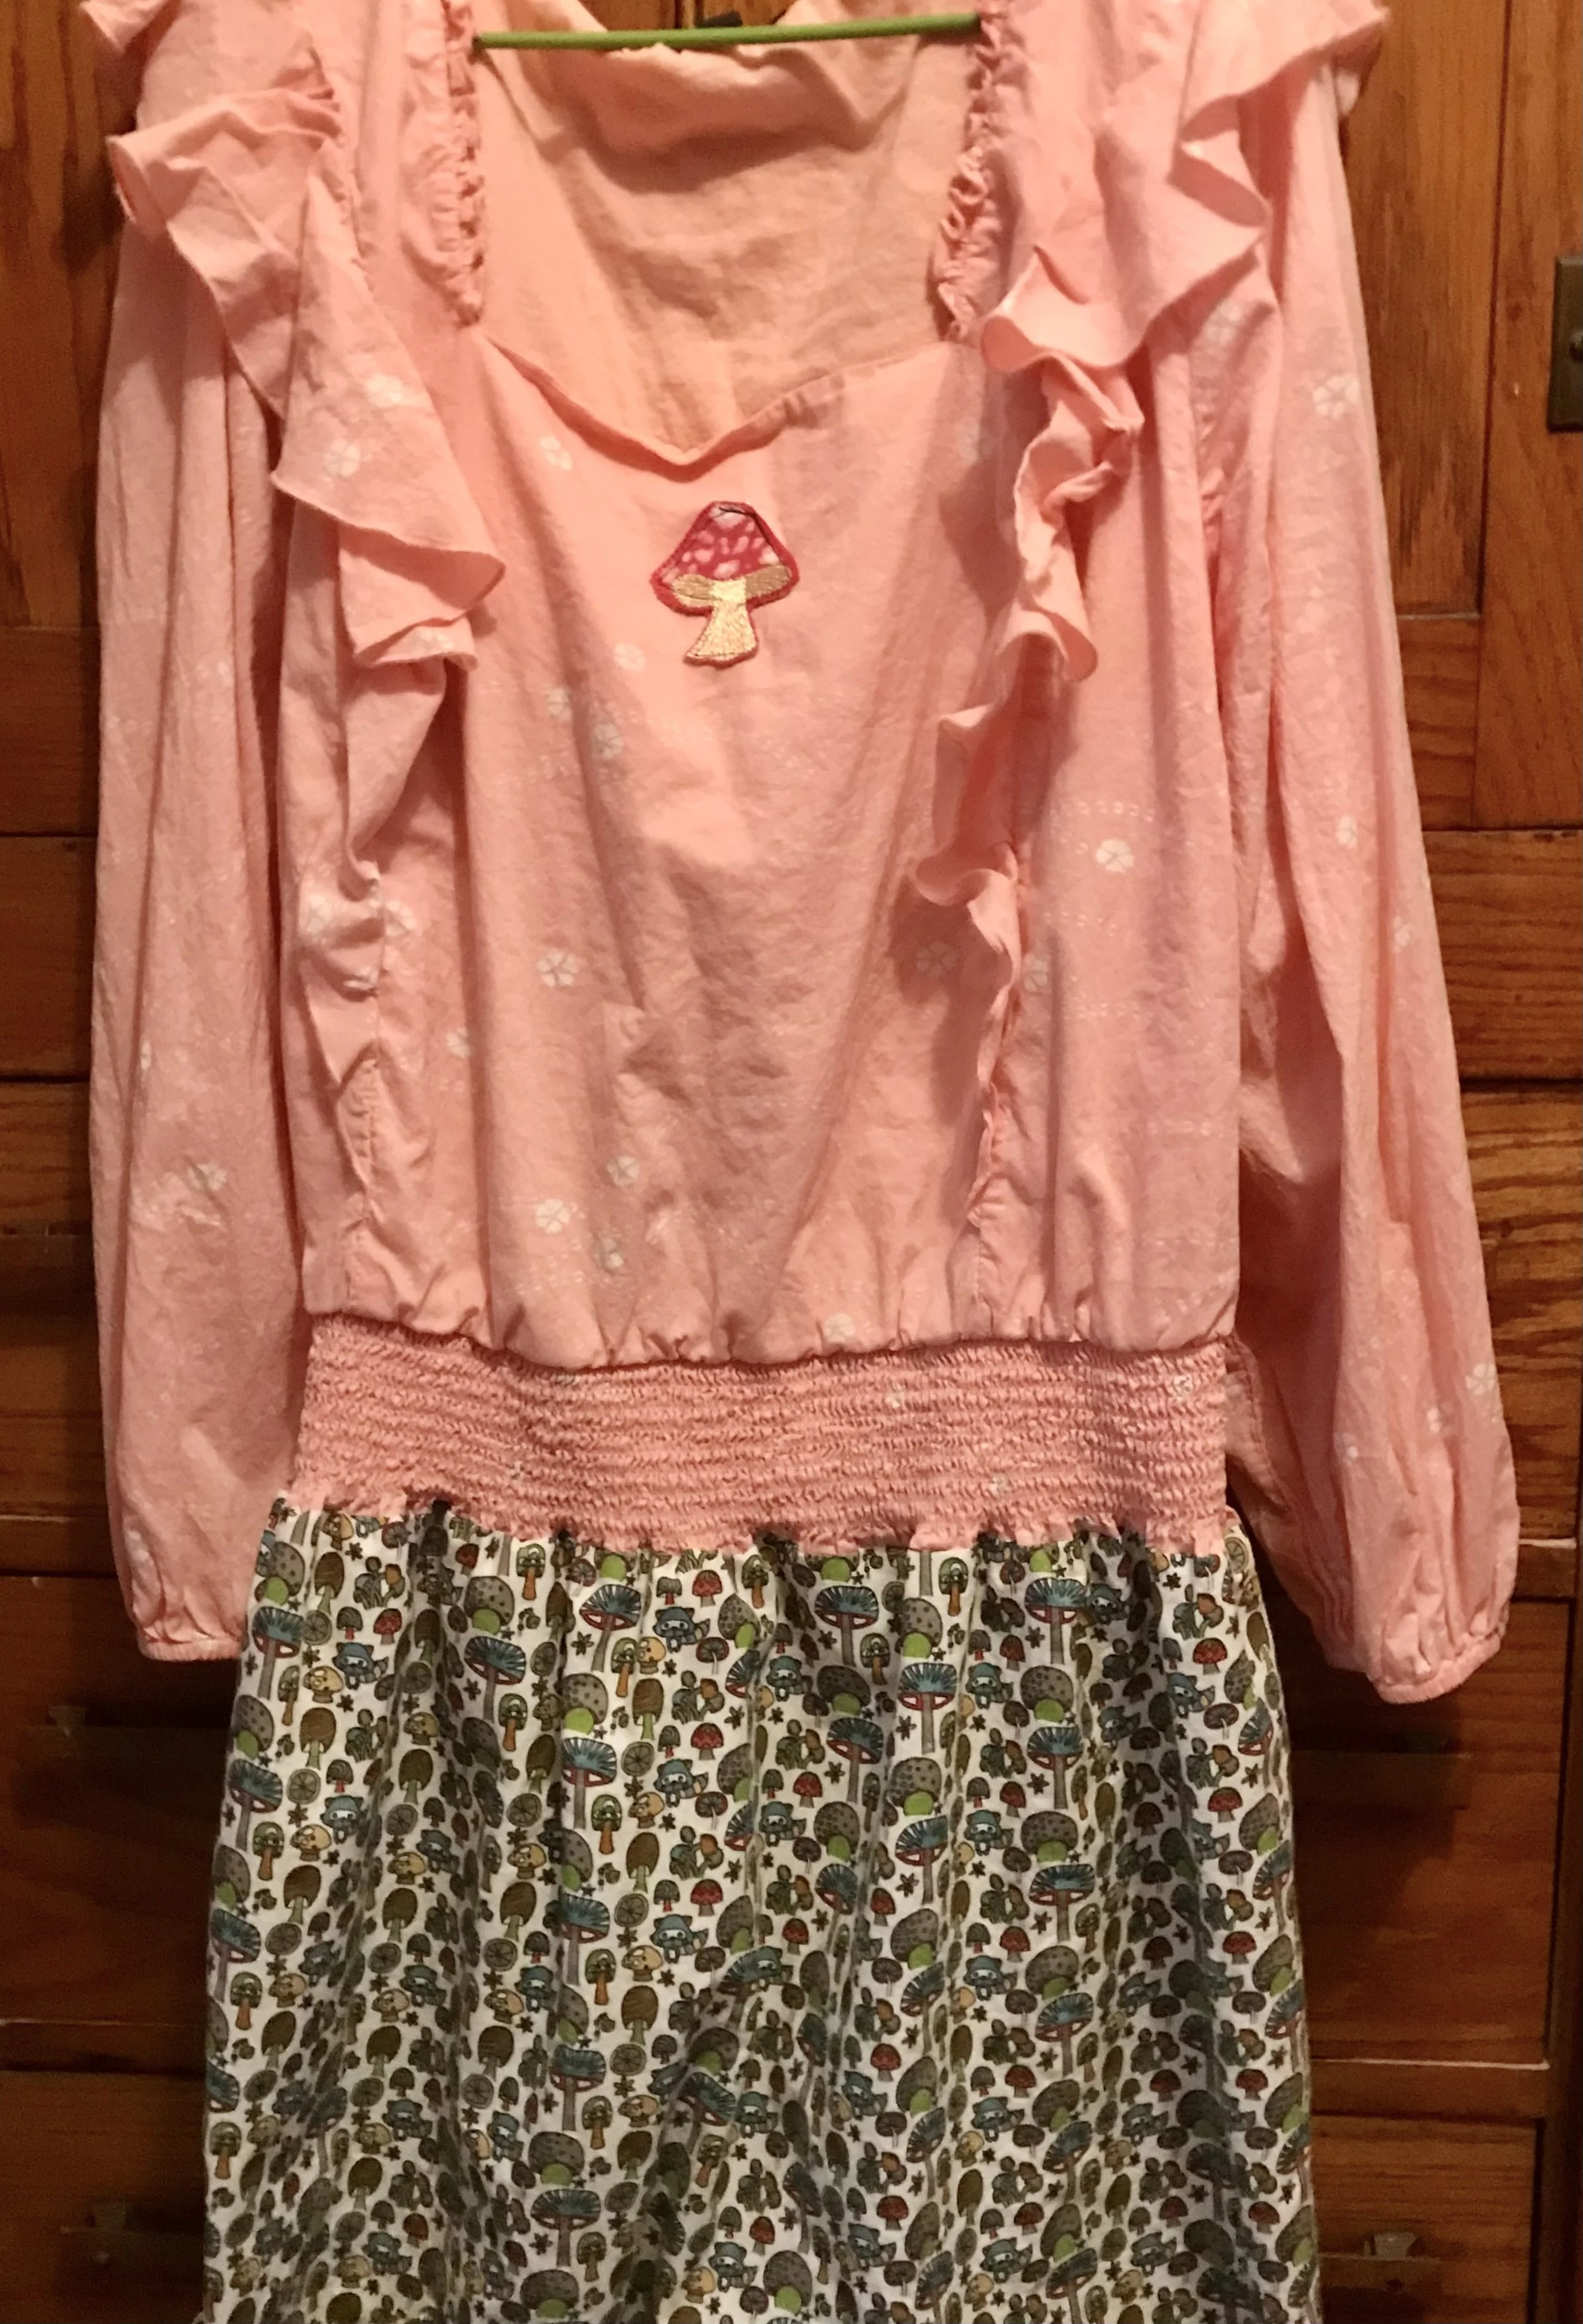
Next, make it patchy! I used a wide decorative zig zag stitch, and attached patches on the front and back. If your t shirts are too thin to sew on as is, turn the logos into patches. Make sure you leave room around the logo for sewing, then attach it to piece of muslin that is big enough to include everything you want on the patch. You could add some text appliques, fabric paint and a bit of lace. T shirt fabric slips around a bit when you are sewing it, so use fabric glue or a glue stick first and let it dry overnight. Sew everything onto the muslin. Then attach the patches onto the jacket.

Add pockets if you wish, along with any other details that make it sing for you! I’m so ready to wear this jacket everywhere this fall! A quick level up to my style is much appreciated!